Progressive Home Gym Upgrade Path: From Bands to Full Rack
Quick Answer A smart home gym upgrade path begins with resistance bands and bodyweight training, then systematically adds adjustable dumbbells, a bench, a pull-up bar, a kettlebell, and finally a squat stand or full power rack with barbell and plates. Each stage delivers complete full-body progressive training while matching current strength levels, budget, and space. Upgrade only when you have maximised progressive overload on the current equipment for 8–16 weeks. This approach minimises wasted spending, prevents clutter, and ensures every new piece solves a real limitation rather than satisfying impulse.
Why a Staged Upgrade Path Works Better Than Buying Everything at Once
Most beginners either under-equip (and plateau quickly) or over-buy (and accumulate unused items). A progressive path solves both problems. Early stages emphasise movement quality, consistency, and basic progressive overload at low cost and minimal space. Later stages introduce higher loading potential and exercise variety only after the foundation is solid. This mirrors how strength develops: neural adaptations and technique first, then greater mechanical tension.
External analyses of budget and staged builds consistently show that trainees who follow clear upgrade criteria retain higher long-term adherence and extract more value from each purchase (see practical staged examples in resources such as Home Gym Foundry budget builds).
Stage-by-Stage Upgrade Path
| Stage | Core Equipment Added | Approximate Cumulative Cost | Primary Capabilities Unlocked | Typical Duration Before Next Upgrade | Space Impact |
|---|---|---|---|---|---|
| 1 | Resistance bands + bodyweight + mat | $30–$80 | Full-body strength, mobility, assistance progressions | 6–12 weeks | Minimal |
| 2 | Adjustable dumbbells | $180–$350 | Progressive loaded pushes, pulls, squats, hinges | 8–16 weeks | Low |
| 3 | Bench + doorway pull-up bar | $300–$550 | Horizontal pressing, supported rows, vertical pulling | 8–16 weeks | Low–moderate |
| 4 | Kettlebell (single or pair) | $350–$650 | Ballistic hinges, carries, conditioning | 8–12 weeks | Low |
| 5 | Squat stand or half rack | $550–$1,000+ | Heavier barbell squats and presses with safety | 12–24 weeks | Moderate |
| 6 | Full power rack + Olympic bar + plates | $1,200–$2,500+ | Complete barbell strength training with full safety | Long-term | Higher |
Costs are approximate 2026 ranges for quality mid-tier equipment and assume new purchases; used markets can reduce totals significantly.
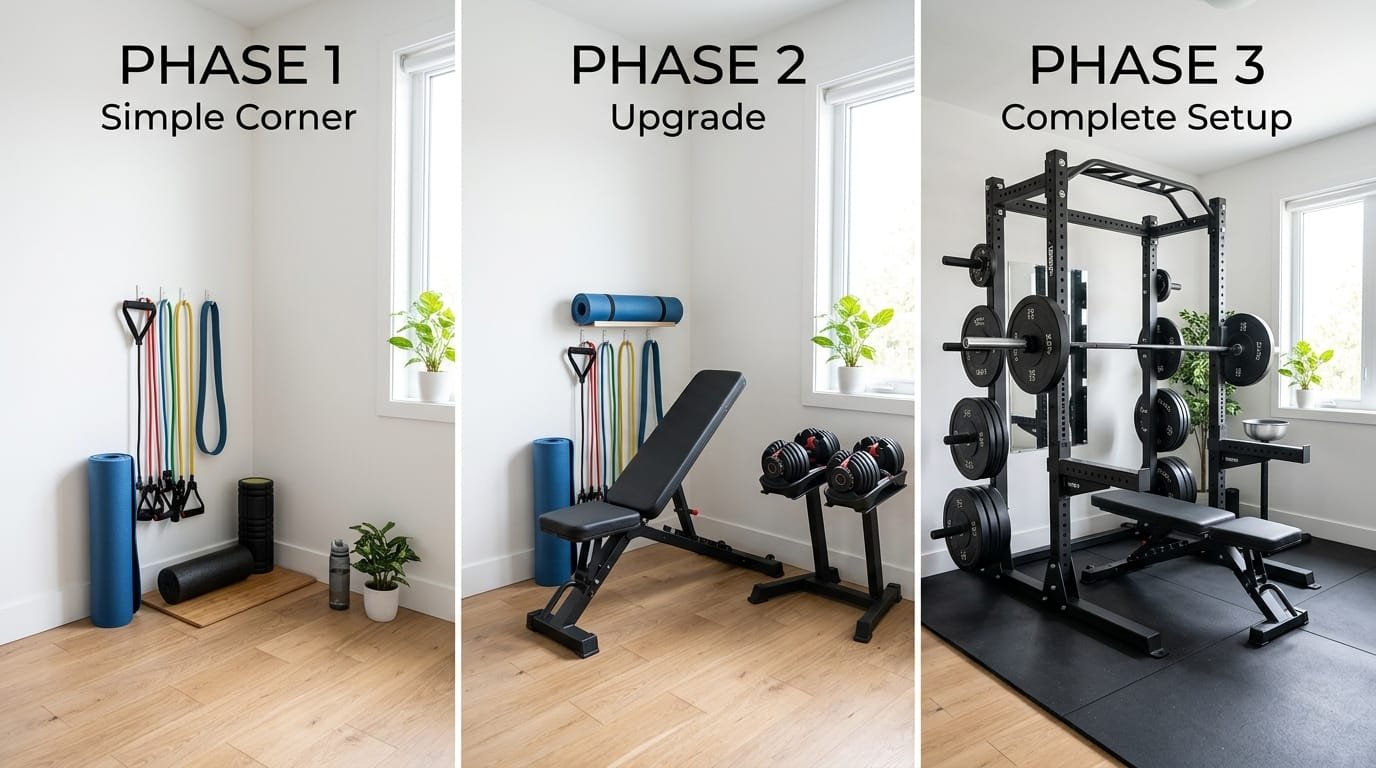
Stage 1: Resistance Bands + Bodyweight Foundation
Goal: Build movement competency, work capacity, and initial strength with almost zero space or noise impact.
Essential items:
- Set of loop bands and tube bands with handles
- Exercise mat
- Optional doorway pull-up bar for early vertical pulling
Key progressive methods:
- Band-resisted push-ups, squats, and rows
- Band-assisted pull-ups and dips
- Tempo and paused bodyweight variations
- Increasing band tension or range of motion
Detailed band selection guidance is available in Resistance Bands Buying Guide: Loop vs. Tube vs. Fabric – Which Wins?.
When to upgrade: You can perform high-quality sets of 12–20+ reps on major patterns with the strongest bands and still recover well, or you need greater loading for continued strength progress.
Stage 2: Add Adjustable Dumbbells
Goal: Introduce precise, progressive external loading for all major patterns.
Adjustable dumbbells become the centrepiece. A pair in a useful range (commonly 5–50 lb or higher) replaces an entire rack of fixed weights. Selection criteria, weight ranges, and common pitfalls are covered in depth here: How to Choose the Best Adjustable Dumbbells for Home Gyms in 2026.
Programming expands to:
- Goblet and front-loaded squats
- Dumbbell bench and floor presses
- Single-arm and two-arm rows
- Romanian deadlifts and hip hinges
- Overhead presses and loaded carries
When to upgrade: You regularly reach the top of the dumbbell weight range on primary lifts with good form and recovery, or you need a stable surface for heavier pressing and rowing.
Stage 3: Add Bench + Pull-Up Bar
Goal: Unlock horizontal pressing variations, chest-supported rows, and high-quality vertical pulling.
A stable flat or adjustable bench multiplies dumbbell usefulness. A doorway or removable pull-up bar supplies the missing vertical-pull stimulus. Together they create a near-complete upper-body station while remaining relatively compact.
Maintain healthy shoulder mechanics on pressing and isolation work by applying principles from safe lateral-raise technique. Continue developing grip strength to improve pull-up performance and loaded carries.
When to upgrade: Dumbbell progressive overload is still available, but you want ballistic hinge patterns, greater conditioning variety, or simply enjoy kettlebell-specific movements.
Stage 4: Add a Kettlebell
Goal: Introduce ballistic loading, improved posterior-chain power, and efficient conditioning.
A single mid-weight kettlebell (often 35–53 lb for many adults) unlocks swings, cleans, snatches, and carries. Sizing and selection guidance: How Heavy Should My Adjustable Kettlebell Be?.
This stage remains low-space and relatively quiet when performed with control. It pairs excellently with the existing dumbbell and band work.
When to upgrade: You want heavier axial loading for squats and presses, prefer barbell training, or have maximised safety and progression with dumbbells alone.
Stage 5: Squat Stand or Half Rack
Goal: Safely introduce barbell back squats, overhead presses, and heavier loading with basic safety supports.
A compact squat stand or half rack requires less space and budget than a full cage while providing J-hooks and safety arms. Pair it with a quality Olympic barbell and an initial plate set (often 150–300 lb to start).
This is the point at which flooring quality and noise management become more important, especially in apartments or shared living spaces.
When to upgrade: You need greater stability, more attachment points, pull-up integration, or the ability to leave a bar loaded safely inside a full enclosure.
Stage 6: Full Power Rack + Complete Barbell Setup
Goal: Create a long-term, highly stable platform for serious barbell strength training.
A full power rack (or high-quality cage) with safety pins, multiple J-hook positions, and integrated pull-up bar becomes the centrepiece. Add sufficient plates, an adjustable bench that works inside the rack, and any desired specialty bars later.
At this stage the gym supports virtually any evidence-based barbell programme. Continue using bands, dumbbells, and kettlebells for accessory work, warm-ups, and variety. Core training can progress toward ab-roller variations and advanced hanging work. Conditioning options such as a manual treadmill or outdoor work remain valuable supplements.
Step-by-Step Decision Framework for Each Upgrade
- Track your main lifts for at least 8 weeks (weight, reps, sets, perceived effort).
- Confirm you are approaching technical or loading limits on the current equipment.
- Verify recovery, joint comfort, and consistency remain solid.
- Assess available space, noise tolerance, and remaining budget.
- Choose the single upgrade that removes the largest current limitation.
- Install and learn the new equipment thoroughly before considering the next step.
- Re-programme to integrate the new tool while retaining the best elements of prior stages.
- Repeat the process only when the new limitation becomes clear.
Programming Across the Stages
Early stages emphasise higher-rep work, tempo control, and skill acquisition. Middle stages introduce moderate loading and classic hypertrophy ranges (6–12 reps). Later stages support lower-rep strength work alongside continued accessory volume from dumbbells, bands, and kettlebells. Full-body or upper/lower splits work at every stage; simply adjust exercise selection and intensity to the available tools.
Space, Noise, and Budget Considerations by Stage
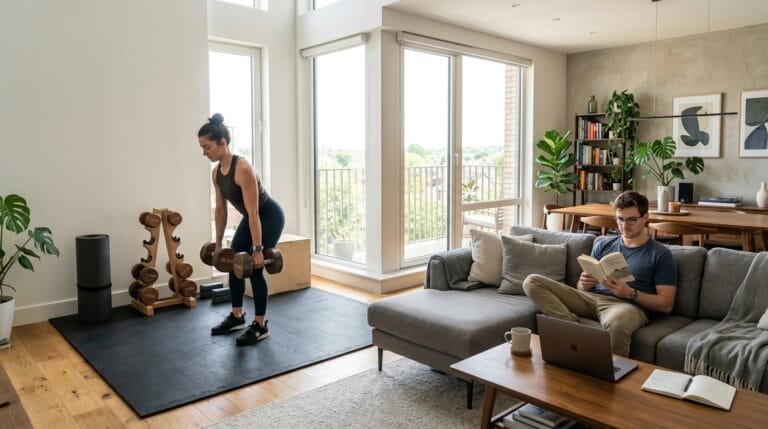
- Stages 1–4 remain viable in apartments, spare bedrooms, and closets with proper storage.
- Stages 5–6 usually require a garage, basement, or dedicated room with adequate ceiling height and flooring.
- Noise rises with barbell work; plan flooring and session timing accordingly.
- Spreading purchases over time reduces financial pressure and allows real-world testing of needs.
Common Mistakes in the Upgrade Path
- Jumping straight to a full rack before mastering dumbbell and band progressive overload
- Buying multiple specialty items instead of the next logical high-leverage tool
- Neglecting flooring when introducing barbell work
- Failing to track performance, so upgrades are driven by boredom rather than need
- Ignoring technique and recovery while chasing heavier loading
Frequently Asked Questions
How long should I stay at each stage? Typically 8–16 weeks of consistent progressive training, longer if progress continues and enjoyment remains high.
Can I skip stages? Possible but rarely optimal. Each stage builds physical capacity and clarifies real needs for the next investment.
Is a full rack necessary for long-term progress? No. Many people achieve excellent results permanently with adjustable dumbbells, a bench, pull-up bar, bands, and a kettlebell. The rack becomes valuable when barbell training is prioritised and space/budget allow.
What is the single highest-leverage early upgrade? Adjustable dumbbells after a solid band and bodyweight base.
How do I know I have outgrown adjustable dumbbells? You repeatedly hit the top weight on primary lifts with good form and recovery, or you specifically want barbell axial loading that dumbbells cannot easily match.
Should I buy used equipment? Yes, especially for dumbbells, benches, and early rack options, provided you verify condition, weight ratings, and safety.
How does this path work in a small apartment? Stages 1–4 are highly apartment-friendly. Stages 5–6 generally require a move to a larger space or acceptance of significant layout trade-offs.
Final Recommendation
Follow a deliberate progressive upgrade path: begin with bands and bodyweight, add adjustable dumbbells, then a bench and pull-up bar, incorporate a kettlebell, and only later move to a squat stand or full power rack with barbell and plates. Upgrade solely when progressive overload on the current tools has been maximised and a clear limitation appears. This method maximises training results per dollar, keeps space and noise manageable, and ensures every new piece of equipment earns its place.
Track your performance, prioritise technique and recovery, and let real needs—not marketing or impatience—drive each purchase. When executed consistently, the path from bands to a full rack produces a highly effective, personalised home gym that grows with you rather than overwhelming you. Start with the essentials you can use immediately, master them, and build upward with purpose.