Parallel Bars or Dip Station for Home Calisthenics
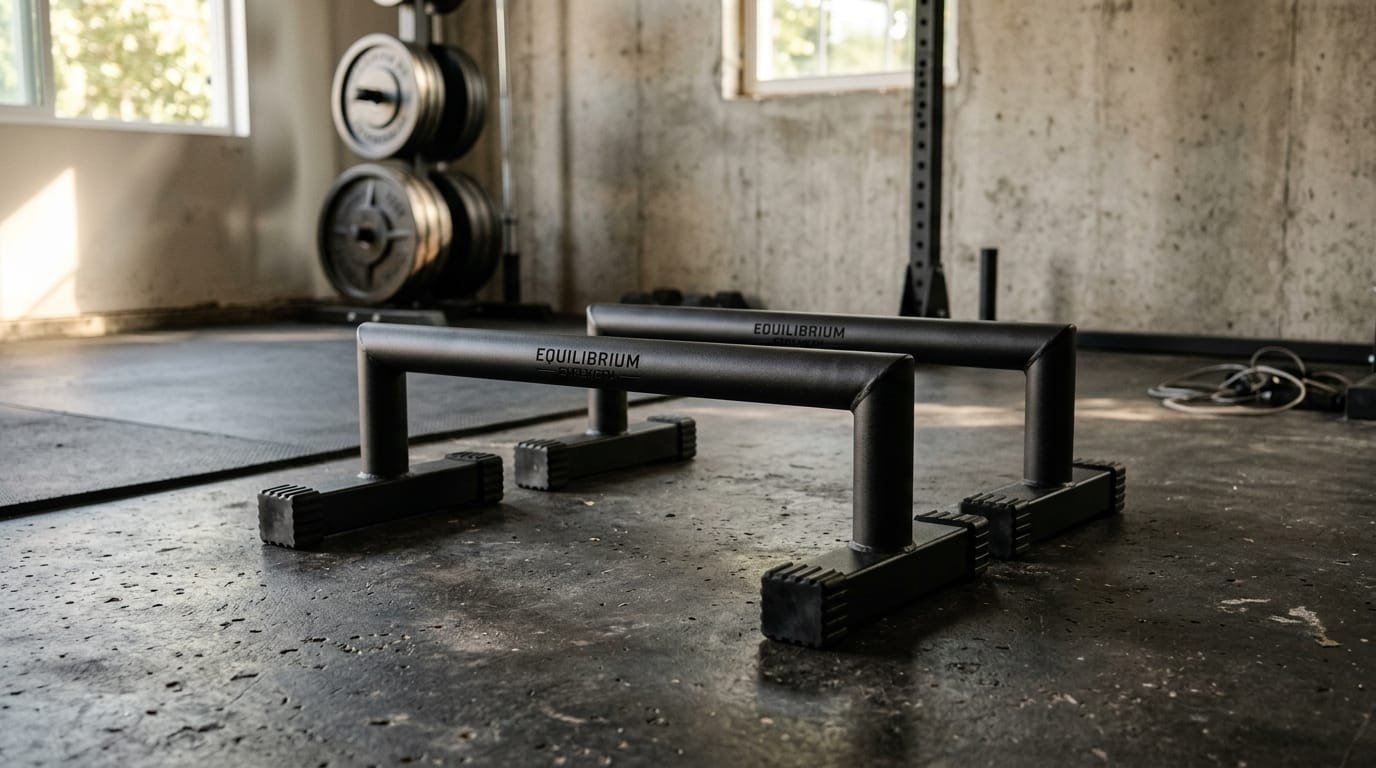
Quick Answer For most home calisthenics athletes in 2026, a pair of sturdy, freestanding parallel bars (or a dedicated dip station with parallel handles) offers the best combination of versatility, stability, and progressive potential. Look for heavy-duty steel construction, adjustable width and/or height, non-slip feet, and a weight capacity of at least 300–500 lb. Freestanding parallel bars excel for dips, L-sits, rows, and skill work. Rack-mounted or wall-mounted options save floor space if you already have a power rack or permanent setup. Prioritize stability and grip comfort over the cheapest price. Independent testing from sources such as Strong Home Gym and detailed home-gym reviews consistently shows that stability and grip quality matter more than flashy features.
Why Parallel Bars / Dip Stations Are Essential for Home Calisthenics
Parallel bars and dip stations unlock a huge range of upper-body and core movements that are difficult or impossible with just the floor or a simple pull-up bar. Classic dips build the chest, triceps, and front delts through a deep range of motion that few other bodyweight exercises match. Elevated push-up variations, L-sits, tucked planche progressions, inverted rows, support holds, and even some lower-body movements all become accessible once you have quality bars.
Unlike a fixed power tower, dedicated parallel bars often allow width adjustment and can be moved or stored more easily. They also tend to feel more natural for true parallel-bar skills than the angled handles found on many multipurpose stations. For pure calisthenics progression—where strength, control, and skill development matter equally—quality bars are one of the highest-value investments you can make in a home setup.
The ability to train both pushing strength and isometric core control on the same piece of equipment makes parallel bars uniquely efficient. Many athletes report faster progress on dips and L-sits once they move from makeshift surfaces (chairs, countertops) to purpose-built bars that stay stable under load.
Main Types Compared
| Type | Best For | Stability | Space Required | Portability | Typical Price Range |
|---|---|---|---|---|---|
| Freestanding Parallel Bars | Full dips, L-sits, skill work | High (good models) | Moderate | Good | $80–$250 |
| Freestanding Dip Station | Dips + extra stations | High | Larger | Low | $100–$300 |
| Rack-Mounted Dip Bars | Users with existing power rack | Highest | Zero extra | N/A | $80–$200 |
| Wall-Mounted | Permanent space-saving setups | Very High | Minimal when folded | Low | $100–$200 |
| Low Parallettes | Push-ups, planche, handstands | High | Minimal | Excellent | $40–$150 |
Key Features to Prioritize
Stability and Base Design Wide, non-slip feet or a solid connecting base prevent tipping during dynamic movements or weighted dips. Look for rubberized feet and a low center of gravity. A unit that feels solid under bodyweight is the foundation of safe training.
Height and Width Adjustability Adjustable height accommodates different body sizes and exercise variations. Adjustable width lets you find the most comfortable and joint-friendly hand placement. Fixed-width bars can feel either too narrow or too wide depending on shoulder width, which affects both comfort and long-term joint health.
Grip Diameter and Texture A diameter around 1.5–2 inches with foam, knurling, or textured coating reduces hand fatigue and improves control. Some athletes prefer thicker grips for comfort on long sets, while others favor a diameter closer to competition parallel bars for skill transfer.
Weight Capacity Aim for at least 300 lb, preferably 400–500+ lb if you plan weighted dips or advanced skills. Real-world capacity is often more important than the marketing number—look for models that feel rigid under load.
Material and Construction Heavy-gauge steel with solid welds lasts longest. Powder coating resists rust and chips better than basic paint. Thin tubing or weak joints are common failure points on budget units.
Detailed Pros and Cons by Type
Freestanding Parallel Bars Pros: Excellent versatility for dips, L-sits, rows, and skill work; often adjustable; relatively portable. Cons: Require more floor space than low parallettes; cheaper models can wobble.
Freestanding Dip Stations / Power-Tower Style Pros: Often include additional stations (knee raises, push-up handles); high stability when well-built. Cons: Larger footprint; less adjustable width; can feel restrictive for pure calisthenics skills.
Rack-Mounted Attachments Pros: Highest stability; zero extra floor space; usually excellent capacity. Cons: Require an existing power rack; less portable.
Wall-Mounted Units Pros: Extremely space-efficient when folded; very stable when properly installed. Cons: Permanent installation; require suitable wall structure.
Low Parallettes Pros: Outstanding for planche work, deeper push-ups, and handstand training; highly portable. Cons: Too low for standard full-range dips for most users.
Step-by-Step Buying Process
- Measure available floor space and ceiling height carefully.
- Decide whether you need full-height bars for standard dips or lower parallettes for floor-based skills (many athletes eventually own both).
- Determine if you already own a power rack—rack-mounted options become extremely attractive in that case.
- Set a realistic budget that includes shipping, as heavier steel units can be costly to transport.
- Check published weight capacity and, more importantly, real-world stability reviews from users of similar body weight.
- Prefer models with adjustable width for long-term comfort and joint health.
- Confirm the grip diameter and texture feel suitable if you can test them, or read detailed handle feedback.
- Factor in storage—some freestanding models nest or fold better than others.
- Read recent user feedback focused on wobble during dips, durability of the coating, and longevity of the feet.
- Consider future progression: will the unit support weighted dips or advanced isometric holds as you improve?
Safety and Progressive Training Guidelines
Always begin with strict bodyweight form before adding external load. Maintain a neutral spine and controlled tempo—especially on the eccentric (lowering) portion of dips. Avoid excessive forward lean or shoulder shrugging, which can stress the joints.
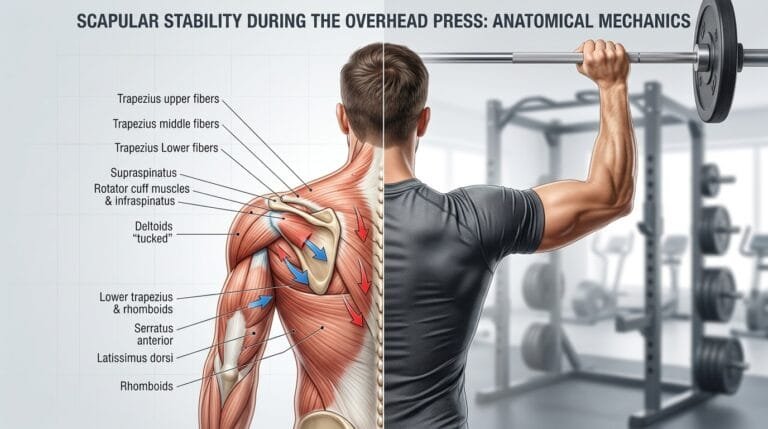
Progress by first increasing range of motion and control, then adding reps, and only later introducing weight via a dip belt or weighted vest. Pair bar work with scapular strengthening and mobility to keep shoulders healthy. Strong grip endurance and solid scapular mechanics (the same principles covered in our lateral raise form guides) directly improve performance and reduce injury risk on parallel bars.
Integrating Parallel Bars into Your Broader Training
Parallel bars pair perfectly with the rest of a home calisthenics or hybrid setup. Use them for pushing strength after adjustable dumbbell or kettlebell sessions. They complement pull-up bar training for balanced upper-body development and work well alongside resistance bands for assisted or resisted variations.
Place the station on a quality home gym floor mat for better traction, joint comfort, and floor protection. Many athletes also combine parallel-bar work with ab roller training for comprehensive core development.
Sample Beginner-to-Intermediate Progression
- Weeks 1–4: Support holds, assisted dips (feet on ground or band), elevated push-ups on the bars.
- Weeks 5–8: Full range bodyweight dips, L-sit progressions, inverted rows.
- Later: Weighted dips, longer L-sit holds, tucked planche leans, and transition skills.
Common Mistakes to Avoid
- Buying the lightest, cheapest bars that wobble under load.
- Ignoring width adjustability and ending up with an uncomfortable fixed stance.
- Choosing bars that are too short for full-range dips if that is a primary goal.
- Neglecting non-slip feet on hard floors.
- Overlooking total height if you plan L-sits or advanced skills.
- Progressing to weighted work before mastering clean bodyweight form.
- Using bars on an uneven or slippery surface.
Frequently Asked Questions
What is the difference between parallel bars and a dip station? Parallel bars are typically two independent or lightly connected rails optimized for dips and calisthenics skills. A “dip station” often refers to a more rigid freestanding frame that may include additional features. In practice the terms overlap heavily, and many excellent products serve both purposes.
Are freestanding parallel bars stable enough for weighted dips? Quality models with wide bases and high weight ratings are. Always test stability thoroughly before adding significant external load. Reviews from sites such as Strong Home Gym and Garage Gym Revisited provide useful real-world insights.
Do I need both high bars and low parallettes? Many serious calisthenics athletes eventually own both. High bars excel for full dips and L-sits; low parallettes are superior for planche work, deeper push-ups, and handstand training.
Can I use parallel bars for pull-ups or rows? Inverted rows are excellent on parallel bars. Full pull-ups usually require a separate overhead bar.
How important is grip diameter? Very. A diameter that is too thin or too thick can cause unnecessary forearm fatigue or wrist discomfort on longer sets. Most users find 1.5–2 inches ideal.
Should beginners start with assisted dips? Yes if they cannot yet perform clean bodyweight dips. Resistance bands or a foot-assisted variation on the bars work well and allow safer progression.
Are wall-mounted or rack-mounted options better than freestanding? They can be more stable and space-efficient if you have a suitable wall or existing rack. Freestanding units win for flexibility and ease of setup in most home environments.
Final Recommendation
For the majority of home calisthenics practitioners, a well-built freestanding pair of parallel bars or a dedicated dip station with good width adjustability and high stability is the best investment. Prioritize solid steel construction, non-slip feet, comfortable grips, and a realistic weight capacity. If you already own a power rack, a rack-mounted attachment is often the cleanest and most stable solution.
Measure your space, decide on the primary movements you want to train, and choose a unit that feels rock-solid under your bodyweight. Consistent progressive training on quality parallel bars delivers outstanding upper-body strength, control, and skill development that few other single pieces of equipment can match.
Assess your available space and training goals, select a stable design with appropriate adjustability, and begin with controlled bodyweight movements. Proper parallel bars or a dip station quickly become one of the most-used tools in a serious home calisthenics setup. Invest in quality once and train with confidence for years.