Best Exercises for Improving Posture Using Common Home Gym Tools
Quick Answer
The best exercises for improving posture using common home gym tools strengthen the upper back, rear shoulders, deep neck flexors, glutes, and core while stretching the chest, hip flexors, and upper traps. Priority movements include band pull-aparts, face pulls, prone Y-T-W raises, chin tucks, rows (dumbbell or band), glute bridges, dead bugs, and thoracic extensions. Perform these 3–5 times per week with resistance bands, dumbbells, a pull-up bar, kettlebell, or just bodyweight. Consistent practice for 4–12 weeks typically produces noticeable improvements in forward head posture, rounded shoulders, and overall alignment.
Why Posture Responds to Targeted Strength Training
Modern life (prolonged sitting, screen use, and repetitive forward postures) creates muscle imbalances commonly described as upper crossed syndrome and lower crossed syndrome: tight chest and hip flexors paired with weak upper back, deep neck flexors, glutes, and abdominals. Strengthening the elongated, weak muscles and improving mobility in the shortened ones is more effective than stretching alone. A 2024 systematic review found that strengthening exercises produced significant improvements in posture, particularly in the upper back and neck, while stretching by itself showed limited measurable effect.
Home gym tools — resistance bands, dumbbells, a pull-up bar, kettlebell, and floor space — supply everything needed for progressive, evidence-based corrective work.
Common Postural Issues and Matching Exercises
| Postural Issue | Primary Weak Muscles | Primary Tight Muscles | Best Home Exercises | Tools Needed |
|---|---|---|---|---|
| Forward head | Deep cervical flexors | Upper traps, suboccipitals | Chin tucks, cervical retractions | None / band |
| Rounded shoulders | Mid/lower traps, rhomboids, rear delts | Pectorals, anterior delts | Band pull-aparts, face pulls, rows, Y-T-W | Bands, dumbbells |
| Thoracic kyphosis (rounded upper back) | Thoracic extensors, mid-back | Chest, abs (sometimes) | Thoracic extensions, prone raises, rows | Foam roller or towel, bands |
| Anterior pelvic tilt | Glutes, abdominals | Hip flexors, lumbar erectors | Glute bridges, dead bugs, bird-dog | Mat, band optional |
| Overall slouching | Posterior chain & scapular stabilisers | Anterior chain | Full posterior-chain + scapular routine | Mixed |
Highest-Value Exercises with Common Home Tools
1. Band Pull-Apart
Hold a light-to-moderate resistance band at shoulder height with arms extended. Pull the band apart by squeezing the shoulder blades together and slightly down while keeping the ribs stacked. Pause and return under control.
Sets/Reps: 3 × 12–20
Why it works: High activation of mid/lower trapezius and rhomboids with relatively low upper-trap involvement.
2. Face Pull (Band or Cable Alternative)
Anchor a band at face height. Pull toward the face with high elbows and finish with external rotation (thumbs back).
Sets/Reps: 3 × 12–15
Excellent for rear delts, external rotators, and scapular retractors.
3. Prone Y-T-W Raises
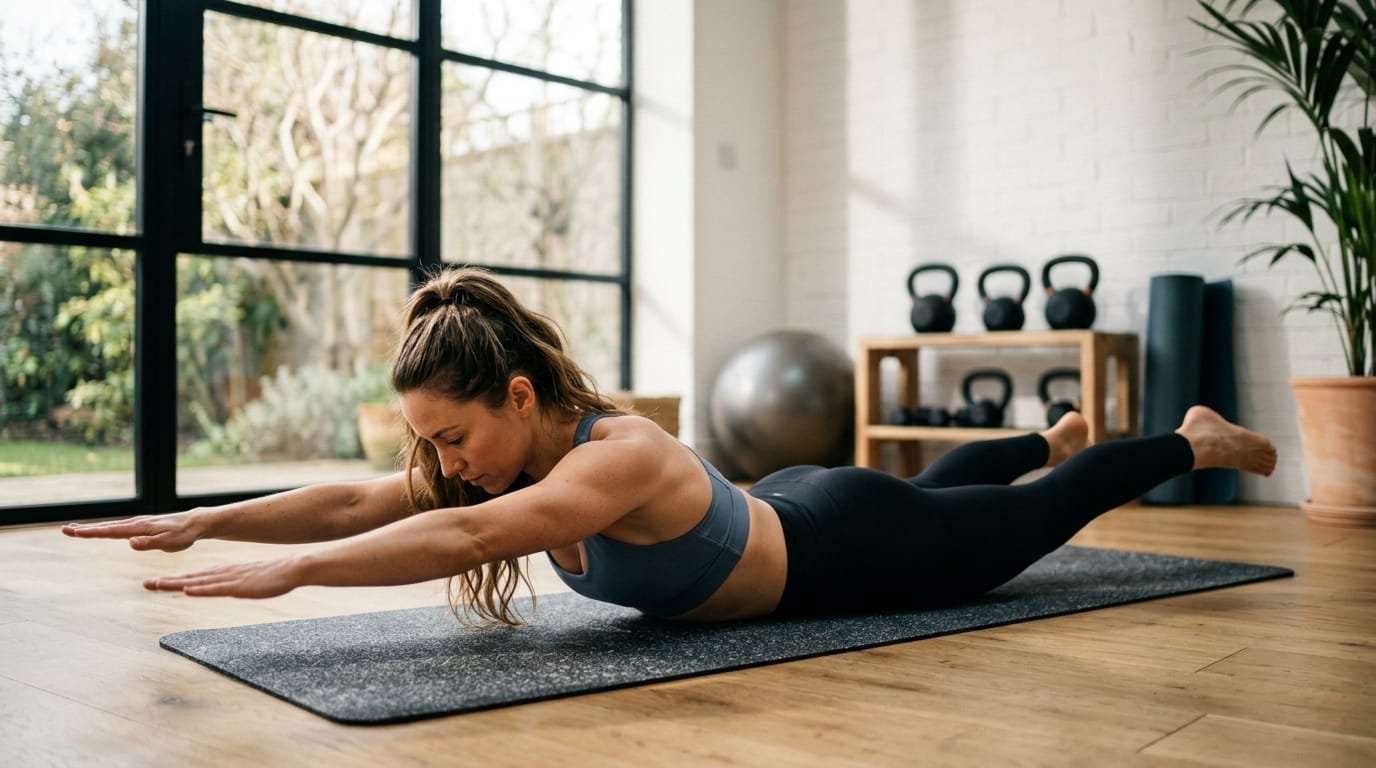
Lie face-down on the floor or a bench. Raise the arms into a Y position (thumbs up), lower, then into a T, then into a W (elbows bent, squeezing shoulder blades). Use bodyweight or very light dumbbells.
Sets/Reps: 2–3 × 8–12 each position
Targets lower and mid traps effectively.
4. Chin Tucks
Sit or stand tall. Draw the chin straight back (as if making a double chin) without tilting the head up or down. Hold 2–5 seconds.
Sets/Reps: 2–3 × 10–15, multiple times daily
Strengthens deep cervical flexors that counteract forward head posture.
5. Dumbbell or Band Row
Bent-over dumbbell row or seated/standing band row. Focus on driving the elbow back and squeezing the shoulder blade.
Sets/Reps: 3 × 8–12 per side
Builds the entire upper-back pulling complex.
6. Glute Bridge / Single-Leg Bridge
Lie on your back, drive through the heels, and extend the hips while squeezing the glutes. Progress to single-leg. Add a band above the knees for extra glute-medius work.
Sets/Reps: 3 × 10–15
Addresses anterior pelvic tilt and posterior-chain weakness.
7. Dead Bug
Lie on your back with arms extended and knees bent at 90°. Slowly extend opposite arm and leg while keeping the lower back pressed into the floor.
Sets/Reps: 3 × 6–10 per side
Builds anterior core control without stressing the lumbar spine.
8. Thoracic Extension on Foam Roller or Towel
Place a foam roller or rolled towel horizontally under the mid-back. Support the head and gently extend over the roller while keeping the ribs down.
Hold or perform controlled repetitions for 30–60 seconds total.
9. Doorway or Band Chest Stretch
Stand in a doorway or use a band anchored behind you to open the chest and anterior shoulders. Hold 20–30 seconds per side.
10. Scapular Pull-Ups or Active Hangs (Pull-Up Bar)
From a dead hang, depress and retract the scapulae without bending the elbows. Builds foundational scapular strength.
Step-by-Step Posture Improvement Programme
- Assess current posture (side-view photo or mirror check for forward head, rounded shoulders, pelvic tilt).
- Begin with daily mobility and activation (chin tucks, band pull-aparts, chest openers).
- Add strength work 3–4 times per week using the priority exercises above.
- Focus on controlled tempos and mind-muscle connection rather than heavy loading initially.
- Progress by increasing band tension, adding light dumbbells, slowing eccentrics, or moving to single-leg/unilateral variations.
- Combine with awareness of daily posture (screen height, sitting position, standing breaks).
- Reassess every 4 weeks with photos or simple measurements.
- Maintain the routine long-term; posture is a continuous practice.
- Pair with overall strength training for best results.
- Address any pain with professional assessment if it persists.
Sample Weekly Routine Using Home Tools
Daily (5–8 minutes)
- Chin tucks – 2 × 10
- Band pull-aparts – 2 × 15
- Doorway chest stretch – 2 × 30 seconds per side
Strength Sessions (3× per week)
- Face pulls – 3 × 12–15
- Prone Y-T-W – 2–3 × 8–10 each
- Single-arm dumbbell or band row – 3 × 10–12 per side
- Glute bridge or single-leg bridge – 3 × 12
- Dead bug – 3 × 8 per side
- Optional: Scapular pulls or active hangs – 2–3 sets
Total session time: 20–30 minutes.
Progressive Overload and Equipment Options
- Resistance bands: increase tension or move to slower tempos
- Dumbbells: add light weight to rows, Y-T-W, or bridges
- Pull-up bar: progress from scapular pulls to full rows or assisted pull-ups
- Kettlebell: use for rows, deadlifts, or carries once form is solid (kettlebell sizing guidance)
- Bodyweight: elevate feet, add pauses, or move to unilateral versions
Integration with Existing Training
Maintain healthy shoulder mechanics during all raising and pressing work by applying the principles in safe lateral-raise technique and the dedicated shoulder health routine to pair with lateral raises.
Grip strength supports better rowing and hanging performance — develop it with grip strength guidance. Core and glute work from this routine complements ab-roller progressions. For band selection, see Resistance Bands Buying Guide: Loop vs. Tube vs. Fabric – Which Wins?. Low-impact conditioning options appear in manual treadmill guidance. A budget massage gun can help manage residual tension in the upper back and neck.
External evidence supports strengthening-focused approaches for postural improvement (systematic review on exercise and postural alignment and practical posture-correction protocols (evidence-based posture exercises).
Common Mistakes
- Relying only on stretching without strengthening the weak muscles
- Using excessive upper-trap shrugging during pull-aparts or rows
- Training with poor form or excessive load too soon
- Inconsistent practice (posture responds best to frequent, moderate work)
- Ignoring daily habits (screen position, sitting posture)
- Expecting overnight changes — visible improvements usually require 4–12 weeks
Frequently Asked Questions
How long does it take to see posture improvements?
Noticeable changes in awareness and mild alignment often appear in 2–4 weeks. More substantial visual and structural improvements typically require 6–12 weeks of consistent work.
Can I improve posture with only resistance bands?
Yes. Bands are highly effective for pull-aparts, face pulls, rows, and many activation drills. Adding dumbbells or a pull-up bar expands options further.
Should I stretch or strengthen more?
Both have a role, but evidence indicates strengthening the weak posterior and deep stabilising muscles produces greater postural change than stretching alone.
How often should I do these exercises?
Daily light activation (chin tucks, pull-aparts) plus 3–4 strength-focused sessions per week works well for most people.
Are pull-ups good for posture?
Yes, when performed with good scapular control. Scapular pulls and strict pull-ups strengthen the upper back and improve shoulder position.
What if I have existing pain?
Reduce range or load, prioritise pain-free variations, and consult a qualified professional if pain persists or worsens.
Do I need a foam roller?
Helpful for thoracic mobility but not essential. A rolled towel or simply focusing on extension exercises can substitute.
Final Recommendation
Improve posture at home by consistently strengthening the upper back, rear shoulders, deep neck flexors, glutes, and core while addressing tight chest and hip-flexor tissues. Prioritise band pull-aparts, face pulls, prone Y-T-W raises, chin tucks, rows, glute bridges, and dead bugs using resistance bands, dumbbells, a pull-up bar, or bodyweight. Train these patterns 3–5 times per week with controlled technique and progressive overload.
Combine the exercises with daily postural awareness and patience. When performed consistently, common home gym tools are more than sufficient to produce meaningful, lasting improvements in alignment, comfort, and confidence. Start with the daily activation sequence and the three-times-weekly strength routine, track your progress with photos, and stay consistent — better posture is highly trainable.