How to Build a Functional Home Gym Without Overspending
Quick Answer
A functional home gym can be built without overspending by prioritising a small number of versatile, multi-use pieces in the correct order: a solid pair of adjustable dumbbells or a kettlebell, resistance bands, a sturdy bench or elevated surface, and proper flooring. Add a power rack or squat stand and barbell only when budget and space allow. Focus on compound movements, buy quality on the items you will use most, avoid specialised machines and redundant accessories, and expand only when a clear training need appears. This approach delivers effective strength and conditioning training for a fraction of the cost of a fully equipped commercial-style setup while remaining sustainable for years.
The Real Cost of Overspending on a Home Gym
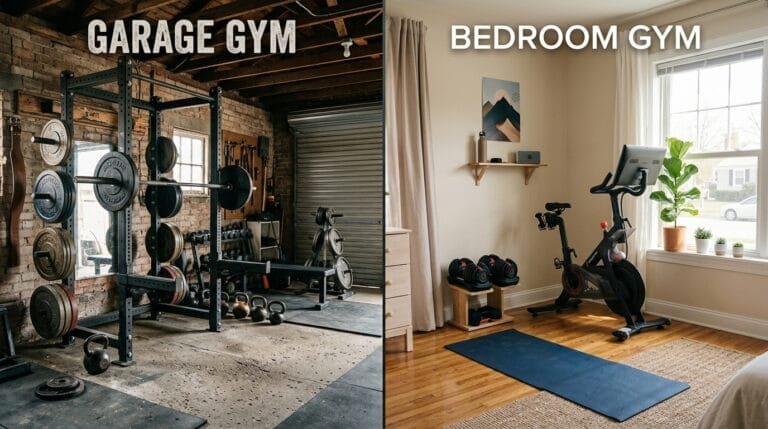
Many new home gym owners fall into the same trap. They see elaborate garage setups online, feel the excitement of finally having their own training space, and begin purchasing equipment in a scattered, emotion-driven way. The result is usually a room filled with single-purpose machines, excessive fixed dumbbells, novelty accessories, and specialised tools that see little actual use. Meanwhile the fundamental movement patterns that produce the majority of results remain poorly supported.
Overspending creates several hidden costs. First is the direct financial waste. Second is the loss of floor space that makes the room less usable for daily life. Third is decision fatigue—when too many options exist, people often train less consistently. Fourth is the psychological burden of having spent a large sum, which can lead to guilt-driven, low-quality sessions.
A functional home gym is defined by capability, not inventory. It must allow you to squat or lunge, hinge, press, pull, carry, and perform basic conditioning. Anything beyond those requirements is optional and should be added only after the foundation is solid and in regular use. Keeping this definition clear prevents the majority of unnecessary purchases.
Core Principle: Buy Equipment in the Correct Priority Order
The single most powerful strategy for avoiding overspending is to acquire tools in a sequence that maximises training capacity at every budget level. Each purchase should unlock new possibilities while building on what you already own.
| Priority Rank | Equipment | Primary Benefit | Why It Belongs Here | Typical Cost Range |
|---|---|---|---|---|
| 1 | Adjustable dumbbells or kettlebell + resistance bands | Immediate full-body strength training | Covers push, pull, squat, hinge, and carry patterns | Low to moderate |
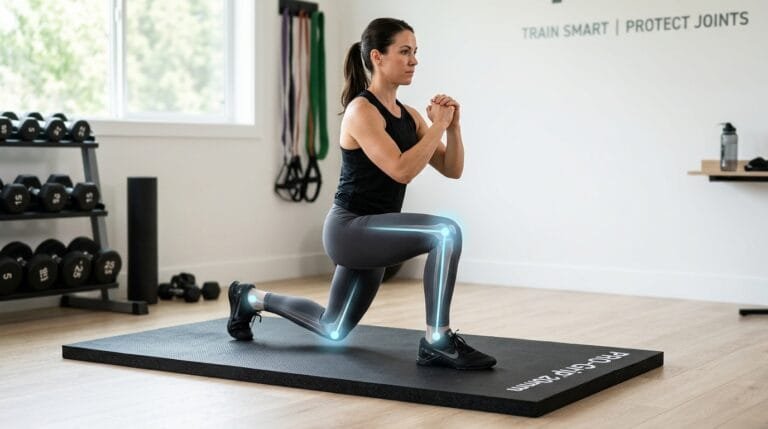
| 2 | Flooring (stall mats or interlocking tiles) | Joint protection, floor protection, stability | Prevents injury and damage while improving training quality | Low |
| 3 | Bench or sturdy elevated surface | Pressing, hip thrusts, step-ups, support | Multiplies the usefulness of dumbbells and bodyweight | Low to moderate |
| 4 | Power rack or squat stand + barbell and plates | Heavy barbell strength + safety for solo training | Enables progressive loading beyond dumbbell limits | Moderate to higher |
| 5 | Optional cardio or specialised tools | Conditioning variety or specific weaknesses | Added only after the strength foundation is complete | Variable |
This sequence is repeatedly endorsed by experienced home gym builders because it prevents the most common form of waste: owning advanced equipment while still lacking the basics that produce results (home gym equipment prioritisation and budget home gym principles).
Stage 1: The Minimum Viable Functional Gym
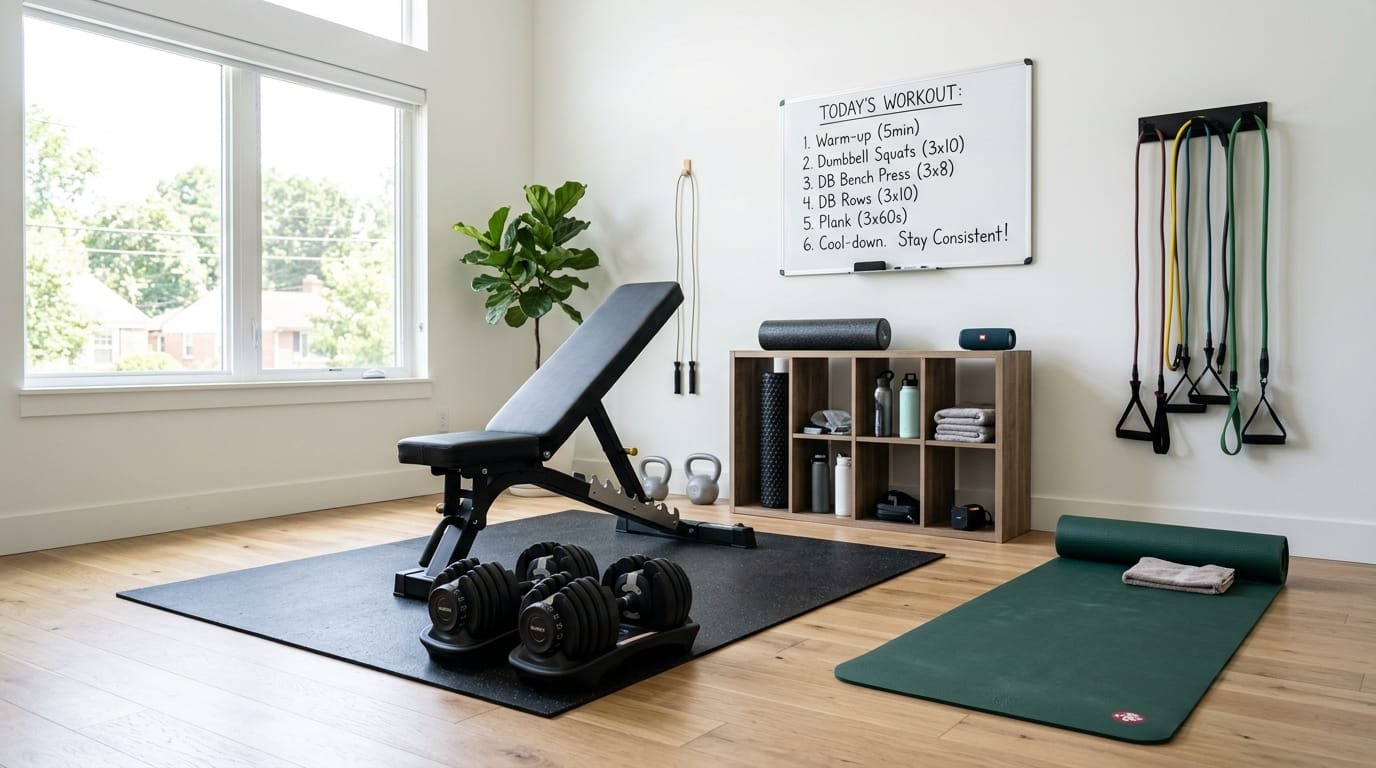
A highly effective starting point can be assembled for a relatively low investment:
- One pair of adjustable dumbbells (or a combination of fixed dumbbells and one kettlebell)
- A progressive set of quality resistance bands
- Basic rubber flooring or horse-stall mats covering the main training zone
- A folding bench, compact fixed bench, or sturdy elevated surface (plyo box, reinforced chair, or aerobic step)
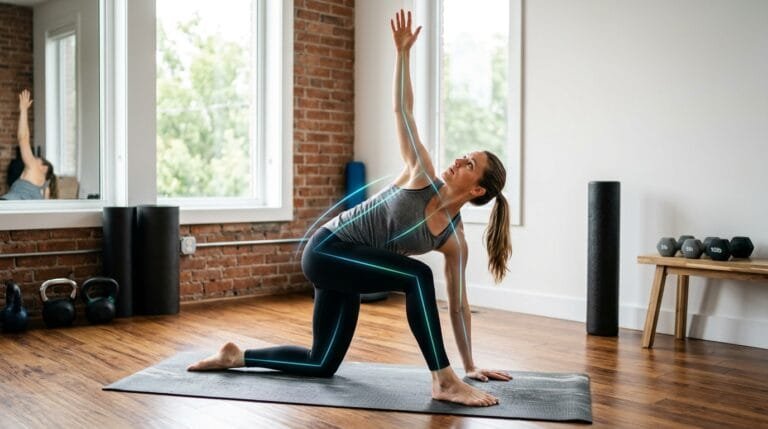
With these tools you can perform goblet squats, Romanian deadlifts, floor presses, single-arm rows, overhead presses, lunges, step-ups, hip thrusts, carries, band pull-aparts, and numerous variations. This combination already supports full-body progressive strength training three to five days per week.
Technique quality remains essential even with limited equipment. Shoulder-friendly pressing and raising patterns should be practised deliberately (Bent Arms vs. Straight Arms in Lateral Raises, The Hidden Mistake in Lateral Raises, and 3 Lateral Raise Modifications). Grip strength, which often limits rows and carries, can be improved with simple dedicated work (Do Hand Grippers Really Work?).
Many people train productively at this level for six to twelve months before any further purchases become necessary.
Stage 2: Expanding to Barbell Strength
Once the basic tools are in consistent use and progressive overload becomes limited by available loading, the next logical step is a power rack or squat stand, an Olympic barbell, and a starter set of plates. This addition unlocks true barbell squats, bench presses, deadlifts, and overhead work with proper safety arms for solo training.
At this stage the home gym becomes capable of matching or exceeding the strength stimulus available in most commercial gyms for the majority of trainees. The key is to reach this stage only after the simpler tools have been fully exploited.
What to Avoid Completely in the Early Stages
Certain categories of equipment consistently lead to overspending and under-use:
- Single-purpose machines (leg extension, leg curl, pec deck, etc.)
- Large cable stations or functional trainers before a rack and barbell exist
- Full sets of fixed dumbbells when adjustable options will cover the same range
- Novelty accessories purchased because they look useful on social media
- Matching the aesthetic of high-end garage gyms instead of solving training needs
- Buying multiple specialised bars or attachment kits before the basics are mastered
Every potential purchase should pass a simple filter: “Does this enable a movement pattern I cannot already train effectively, or make an existing pattern significantly safer or more progressive?” If the answer is no, wait.
Space-Efficient Decisions That Protect Both Budget and Living Area
In small homes and apartments the cost of a poor decision is magnified because unused equipment cannot be hidden. Prioritise:
- Adjustable dumbbells instead of long rows of fixed weights
- Folding or compact benches instead of permanent full-size benches
- Resistance bands that store in a drawer or small bag
- Flooring placed only in the working zone rather than wall-to-wall coverage
- Multi-purpose tools (a kettlebell that serves for swings, squats, presses, rows, and carries)
These choices keep the room usable for daily life while still supporting serious training.
Detailed Step-by-Step Plan to Build Without Overspending
- Write down your primary training goals and the movement patterns required to reach them.
- Measure the available space accurately, including storage options.
- Set a firm total budget and decide how much can be spent in the first phase.
- Purchase the Stage 1 items (dumbbells or kettlebell, bands, flooring, bench surface).
- Begin training immediately with a simple full-body programme.
- Track every session so progress and limitations become visible.
- After 4–8 weeks of consistent training, identify the single biggest limitation in the current setup.
- Buy only the item that removes that specific limitation.
- Repeat the assessment process every few months.
- Sell or avoid any piece of equipment that is not earning its place in the space.
This disciplined cycle prevents almost all forms of equipment accumulation driven by excitement rather than need.
Programming Effectively on a Limited Setup
Complicated programming is unnecessary. A functional home gym thrives on simplicity:
- Squat or knee-dominant movement
- Hinge or hip-dominant movement
- Upper-body push
- Upper-body pull
- Carry or core anti-rotation/anti-extension work
Full-body sessions performed three or four times per week produce excellent results for most people. Progressive overload can be applied through added repetitions, slower eccentric tempos, shorter rest periods, increased range of motion, or more challenging variations long before new equipment is required.
Strength training with progressive resistance remains one of the most reliable methods for building muscle, bone density, and functional capacity (strength training guidance).
Smart Shopping: New vs Used and Timing Purchases
Used equipment can dramatically reduce costs for racks, barbells, benches, and plates. Inspect structural integrity carefully, especially on safety-critical items. Adjustable dumbbells, bands, and upholstery items are often better purchased new for hygiene and warranty reasons.
Watch for seasonal sales, package deals, and local marketplace listings, but never allow a perceived bargain to override the priority order. A cheap item that sits unused is still a waste of money and space.
Long-Term Financial Perspective
A thoughtfully built minimalist home gym frequently pays for itself within 12–24 months when compared with ongoing commercial gym memberships. Beyond the direct financial comparison, it eliminates travel time, equipment waiting, crowded peak hours, and schedule constraints. These advantages compound over years and often matter more than the initial cost savings.
Common Overspending Traps and How to Avoid Them
| Trap | Why It Happens | Prevention Strategy |
|---|---|---|
| Buying a complete commercial-style setup at once | Excitement and social-media influence | Follow the priority sequence strictly |
| Collecting specialised accessories early | “I might need it someday” thinking | Wait until the need is proven through actual training |
| Choosing appearance over function | Desire for a visually impressive space | Judge every item solely by training utility |
| Under-investing in the foundation | Attempting to save money in the wrong places | Spend more on the tools used in every session |
| Treating flooring as optional | Viewing it as a non-training expense | Include basic protection from the first phase |
| Waiting for the “perfect” setup before starting | Perfectionism | Begin training immediately with current tools |
| Failing to reassess and declutter | Attachment to past purchases | Periodically sell or remove unused items |
Frequently Asked Questions
What is the absolute minimum equipment for a functional home gym?
A pair of adjustable dumbbells or one kettlebell, a set of resistance bands, and a surface for hip thrusts and step-ups. Many people make excellent progress with only these items for an extended period.
Should a power rack be the first major purchase?
Only if heavy barbell squats and bench presses are central to your goals and both space and budget allow. Otherwise begin with dumbbells and bands.
Are adjustable dumbbells worth the higher upfront cost?
For most people in limited space, yes. They replace an entire rack of fixed weights and keep the training area open and usable.
How much should I realistically budget for a solid beginner-to-intermediate home gym?
$400–$1,200 covers a highly functional setup for the majority of trainees when purchases follow the correct priority order.
Can significant muscle be built without a barbell or rack?
Yes. Progressive dumbbell, kettlebell, and band training builds substantial muscle when effort and overload are applied consistently.
Is it better to buy everything new?
Not necessarily. Racks, bars, and plates often represent excellent value on the used market. Benches, dumbbells, and bands are frequently better purchased new.
How do I know when it is time to expand the gym?
Expand only when a specific movement pattern or loading requirement cannot be trained effectively with the equipment you already own.
What about cardio equipment?
Add it later if needed. Walking, jumping rope, kettlebell conditioning, or bodyweight circuits cover most conditioning needs at very low cost.
How important is flooring in a budget build?
Very important. Basic stall mats or interlocking tiles protect joints, floors, and equipment while improving stability and training quality.
Can I build the gym in phases while still making progress?
Yes. This is the recommended approach. Each phase supports real training, and progress continues while the setup evolves.
Final Recommendation
Building a functional home gym without overspending is primarily a discipline problem rather than a money problem. Start with the highest-leverage, multi-use tools—adjustable dumbbells or a kettlebell, resistance bands, basic flooring, and a bench or elevated surface. Train consistently with those items, apply progressive overload, and only then add a rack and barbell when they solve a clear, repeated limitation.
Resist specialised machines, redundant accessories, and purchases driven by aesthetics or temporary excitement. Measure your space, set a firm budget, follow the priority order, and let actual training needs dictate every expansion. Pair the equipment with simple progressive programming and solid movement technique.
A minimalist yet complete home gym removes the largest practical barriers to consistency while protecting your finances and living space. Begin with the highest-priority items you can afford right now, start training immediately, and allow results—not equipment accumulation—to guide future spending. The most cost-effective gym is the one that supports steady, sustainable progress for years without unnecessary expense or clutter. Make the first purchase this week and let the process compound from there.