How to Transition from Gym Membership to Fully Equipped Home Training
Quick Answer
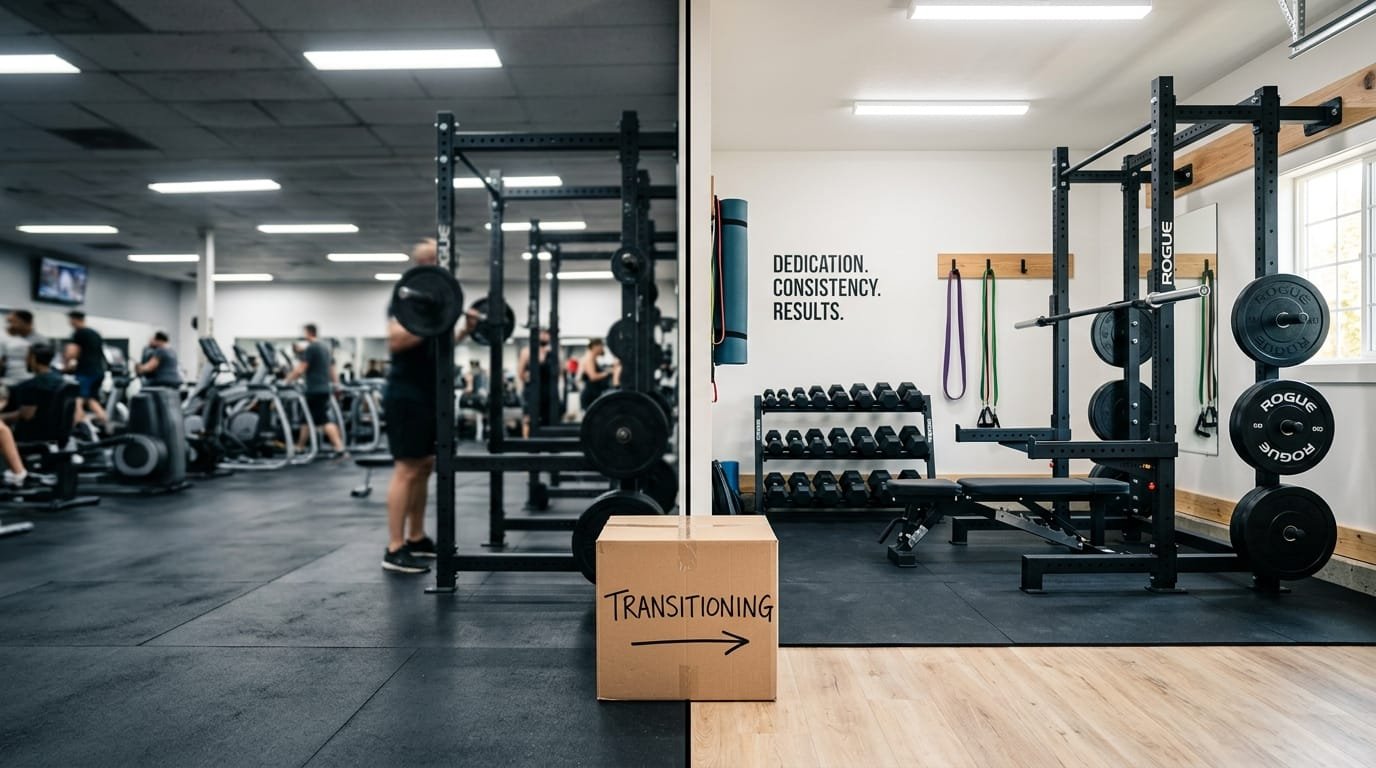
Transitioning from a commercial gym membership to a fully equipped home gym succeeds when you clarify your training goals, prioritise versatile multi-use equipment in the correct order, create a dedicated and safe training space, maintain progressive programming, and treat the change as a gradual process rather than an overnight switch. Start with a power rack or squat stand, barbell and plates, adjustable bench, and adjustable dumbbells or kettlebells. Add flooring, bands, and cardio options as budget and space allow. Most people recoup membership costs within 12–24 months while gaining convenience, consistency, and long-term ownership of their training environment.
Why Make the Switch?
Commercial gyms offer variety and social atmosphere, but they also bring commuting time, crowded peak hours, waiting for equipment, membership fees that rise over time, and limited opening hours. A well-planned home gym eliminates these friction points. You train on your schedule, avoid travel, customise the environment exactly to your needs, and build equity in equipment that lasts for years.
The key is avoiding the two most common mistakes: buying too much low-quality gear too quickly, or under-buying and then feeling limited. A strategic, phased approach solves both problems.
Step 1: Define Your Training Style and Non-Negotiables
Before spending money, write down:
- Primary goals (strength, hypertrophy, general fitness, conditioning, sport-specific)
- Preferred training style (barbell-focused, dumbbell/kettlebell, functional, mixed)
- Available space (exact measurements, ceiling height, floor type)
- Budget range (initial and ongoing)
- Noise and neighbour constraints
- Whether you train alone and need safety features (spotter arms, etc.)
This clarity prevents impulse purchases that do not match how you actually train.
Step 2: Prioritise Equipment in the Correct Order
Buy in a sequence that maximises training capacity at every stage.
| Priority | Equipment | Why It Comes First | Approximate Role |
|---|---|---|---|
| 1 | Power rack / squat stand with safety arms | Enables safe barbell squats, bench press, overhead work, pull-ups | Foundation of serious strength training |
| 2 | Olympic barbell + weight plates | Core loading tool for all major lifts | Progressive overload engine |
| 3 | Adjustable bench | Unlock flat, incline, and support work | Versatility multiplier |
| 4 | Adjustable dumbbells or fixed pairs + kettlebell | Accessory work, unilateral training, conditioning | Completes most programmes |
| 5 | Flooring (rubber mats or tiles) | Protects floor, reduces noise, improves safety | Essential infrastructure |
| 6 | Resistance bands & accessories | Warm-ups, regressions, travel, variety | Low-cost high-utility |
| 7 | Cardio option (rower, bike, treadmill, or jump rope) | Conditioning without leaving home | Optional but valuable |
| 8 | Cable attachment or functional trainer | Isolation and variety | Later-stage addition |
This order is widely recommended by experienced home-gym builders because each purchase unlocks new movement patterns while building on the previous ones. (Home gym transition and equipment prioritisation guides and budget home gym build sequences).
Step 3: Create a Functional and Safe Training Space
- Measure the area accurately, including ceiling height (many racks need 2.4 m / 8 ft or more).
- Ensure good lighting and ventilation.
- Install appropriate flooring before heavy equipment arrives.
- Leave clear walkways and space to change plates safely.
- Consider wall anchoring for racks if required by the manufacturer or local conditions.
- Plan storage for plates, dumbbells, and accessories so the space stays usable.
- Address noise: rubber flooring, rubber bumper plates, and timing of sessions matter.
A clean, organised, well-lit space dramatically improves adherence.
Step 4: Bridge the Programming Gap
Many people feel lost without the machine circuit or group classes they used at the commercial gym. Solve this by:
- Keeping the same core compound lifts you already know (squat, hinge, press, row/pull).
- Using dumbbells, kettlebells, and bands for the accessory work previously done on machines.
- Learning simple progressive-overload methods that do not require endless equipment variety.
- Recording workouts so progress remains visible.
Shoulder work can continue with careful attention to technique—detailed guidance on lateral-raise variations and common errors is available in Bent Arms vs. Straight Arms in Lateral Raises, The Hidden Mistake in Lateral Raises, and 3 Lateral Raise Modifications. Grip strength, often a limiting factor in home pulling and carrying work, responds well to targeted training (Do Hand Grippers Really Work?).
Step 5: Manage the Financial Transition
Calculate your true commercial-gym cost (membership + travel + time). Most solid home setups in the $1,000–$3,000 range pay for themselves in 12–24 months compared with a mid-range membership. Buy quality core pieces once rather than replacing cheap equipment repeatedly. Watch for used racks, bars, and plates in good condition from reputable sources, but prioritise safety-critical items (rack, bar, bench) as new or thoroughly inspected.
Step 6: Handle the Psychological and Habit Shift
- Set a fixed training schedule in your home space exactly as you would book a gym class.
- Prepare the night before (clothes, water, programme written down).
- Start with shorter sessions while the new environment becomes familiar.
- Track workouts and celebrate consistency.
- Accept that the first 2–4 weeks feel different; this is normal.
- Keep a temporary low-cost gym membership or day-pass option if you need machines or social contact during the transition.
Sample Phased Equipment Build
Phase 1 – Minimum Effective Setup (Weeks 1–8)
Rack or sturdy squat stand, barbell, 100–150 kg of plates, adjustable bench, basic flooring. This covers squats, presses, hinges, rows, and pull-ups.
Phase 2 – Expanded Capacity
Adjustable dumbbells or kettlebells, additional plates, resistance bands, better flooring coverage.
Phase 3 – Convenience & Conditioning
Cardio machine or dedicated conditioning tools, cable options, storage solutions, recovery tools.
Common Pitfalls and How to Avoid Them
| Pitfall | Consequence | Prevention |
|---|---|---|
| Buying too much too soon | Clutter, wasted money, decision fatigue | Follow the priority order strictly |
| Choosing undersized or low-quality rack/bar | Safety risk and early replacement | Match capacity to projected 1–2 year strength |
| Ignoring flooring and noise | Damaged floors, neighbour complaints | Install proper mats before heavy lifting |
| No clear programme | Loss of motivation | Write workouts in advance |
| Expecting exact commercial-gym replication | Disappointment | Focus on 80–90% of results with 20% of the equipment |
| Neglecting safety features | Injury risk when training alone | Prioritise spotter arms and stable setup |
Maintaining Progress Long-Term
Once the home gym is operational, treat it like any serious training environment:
- Progressive overload remains non-negotiable.
- Periodically deload and vary accessories.
- Maintain the equipment (tighten bolts, check welds, clean bars).
- Reassess space and add pieces only when a clear training need appears.
- Continue educating yourself on technique—especially for shoulder health and grip.
Frequently Asked Questions
How much should I budget for a functional home gym?
A highly effective setup can start at $800–$1,500. A more complete version usually falls between $2,000–$4,000 depending on quality and location.
Can I build serious strength with only a home gym?
Yes. The majority of strength and muscle gains come from progressive loading on the basic compound movements, all of which are fully available at home with a rack, bar, and bench.
What if I miss the machines?
Most machine movements have close free-weight or band equivalents. A single cable unit or functional trainer can be added later if desired.
How do I stay motivated without the gym atmosphere?
Fixed schedule, visible progress tracking, good lighting and music, and occasional training partners or online communities help. Many people find home training more consistent once the habit is formed.
Is a power rack necessary?
For barbell squats and bench press performed alone, a rack with safety arms is the safest and most enabling piece of equipment. Alternatives exist but involve compromises.
How long does the transition usually take?
Equipment acquisition and space setup can be completed in 2–8 weeks. Full psychological and habitual adjustment often takes 4–12 weeks of consistent home training.
Should I cancel my gym membership immediately?
Many people keep a month-to-month or low-cost option during the first phase so they are never without a training venue while equipment arrives and the space is organised.
Final Recommendation
Transitioning from a gym membership to a fully equipped home training setup is one of the highest-leverage decisions a consistent trainee can make. Success rests on clear goal-setting, disciplined equipment prioritisation (rack and barbell first), creation of a safe and inviting space, and maintenance of progressive programming.
Begin with the foundational pieces that unlock the main compound lifts, add versatile tools such as dumbbells, kettlebells, and bands, and expand only when a genuine need arises. Use verified technique resources for shoulder work and grip development to keep training sustainable. Calculate the financial break-even point, protect your training schedule, and give yourself several weeks to adapt to the new environment.
When executed deliberately, the move to home training delivers greater consistency, lower long-term cost, complete schedule freedom, and full ownership of your fitness environment. Start with a realistic inventory of space and budget, follow the priority order, and take the first concrete step this week—your future training self will thank you.