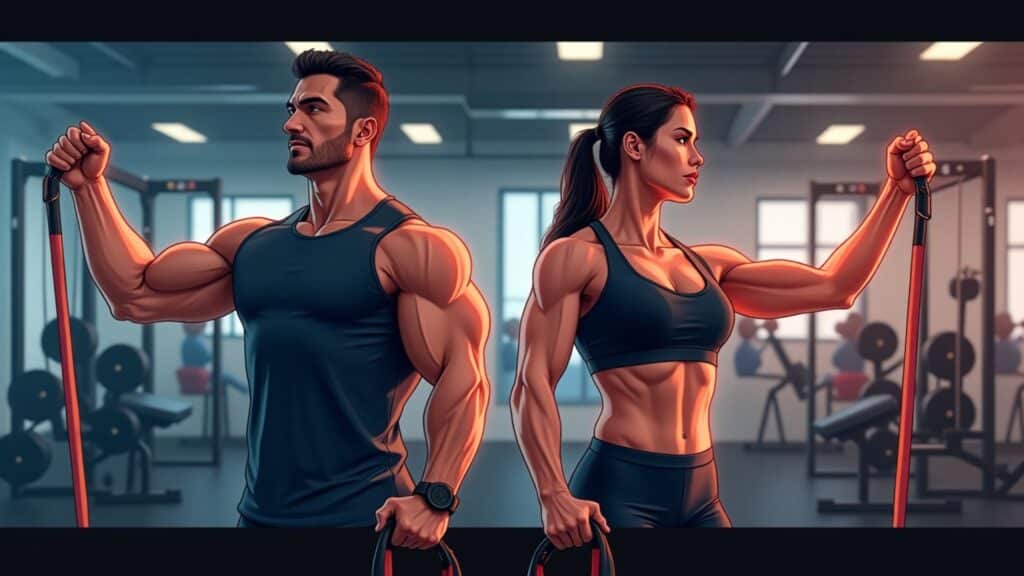
Resistance Bands for Lateral Raises: How Arm Angle Changes the Game

Ever done lateral raises with dumbbells and thought, “Why does this feel weird halfway up?” Or maybe your shoulders bark back the next day, and not in the good, “I crushed my delts” kind of way. You’re not alone. Most people never question the tool they’re using, let alone the angle of their arms, when training shoulders.
Here’s the truth most beginners miss: Switching to resistance bands and tweaking your arm angle can not only reduce joint stress, but also skyrocket your delt gains.
A simple tweak with resistance bands can transform this exercise from frustrating to game-changing. As a strength coach, I’ve seen clients double their shoulder endurance in weeks just by adjusting their technique. Let’s break down why resistance bands change the game, and how to use arm angles strategically to stay pain-free and progress faster.
“Why Do My Lateral Raises Feel So Weak?” Here’s What’s Really Happening
Your arm angle dictates muscle engagement, not just resistance.
Most lifters blame “weak shoulders” when lateral raises feel awkward. But the real issue? Poor scapular control and incorrect band tension. Traditional dumbbell raises lock you into a fixed path, while bands increase resistance at the top, where your shoulders are weakest.
With dumbbells, the hardest part of a lateral raise is when your arm is parallel to the ground. That’s when gravity is pulling hardest, and your delts are on fire. But here’s the kicker: there’s no tension at the bottom of the rep. So your shoulder joint absorbs stress before your delts ever get a pump.
Resistance bands flip this. The tension increases as you raise your arms, offering a smoother ramp-up that protects the joint and better loads the delts at the top of the rep.
One of my clients, Amanda, swore her shoulder pain meant she just wasn’t “built for lifting.” Once we swapped in bands and adjusted her arm path, she went from pain to personal bests in three weeks.
The Hidden Factor Everyone Overlooks: Band Anchoring
Where you anchor the band changes everything.
A 2024 study in the Journal of Strength and Conditioning Research found that band positioning alters muscle activation by up to 27%. Most people anchor bands at foot level, but this forces your arms to fight horizontal and vertical resistance simultaneously, a recipe for compensation.
Actionable Tip: Try this quick test:
- Anchor the band at waist height (e.g., a squat rack).
- Perform a lateral raise with a slight forward lean (10–15 degrees).
- Notice how your shoulders feel more isolated? That’s your delts working—not your traps.
“Straight Arms Are Best” Debunked: Why Slight Bend Wins
Locked elbows aren’t wrong, they’re just inefficient.
Traditional advice says to keep arms straight, but this overloads joints and underworks muscles. Think of your arm like a fishing rod: A slight bend (15–20 degrees) acts as a “shock absorber,” letting your delts handle the tension instead of your elbows.
Visual Cue: Imagine holding a baby bird, firm enough to control it, but gentle enough not to crush it. That’s the grip and arm angle you want.
Step-by-Step Fix: Stronger Delts in 4 Weeks
Follow this sequence to master banded lateral raises without shoulder pain.
Phase 1: Prep (Week 1–2)
- Band Placement: Anchor at hip height.
- Form: Stand tall, soft elbows, lean forward slightly.
- Tempo: 3 seconds up, 2-second pause at the top.
Phase 2: Modify (Week 3)
- If your traps take over: Reduce the band tension and focus on pulling your shoulder blades down before lifting.
- If wrists hurt: Use a looped band over your palms instead of gripping.
Phase 3: Progress (Week 4+)
- Add rotation: Turn thumbs up at the top (like a “high-five”) to recruit rear delts.
- Try unilateral raises: One arm at a time to correct imbalances.
Final Thought:
- Arm angle matters: A 30-degree forward lean optimizes delt engagement.
- Anchor at waist height to reduce trap dominance.
- Keep a slight bend in elbows to protect joints.
- Progress with rotation for 360-degree shoulder development.
- Resistance bands offer smoother tension and joint-friendly loading.
- Arm angle is everything: 30° forward (scapular plane) reduces impingement.
- Bent arms are safer for beginners and allow for better control with bands.
By understanding how arm angle and equipment affect your shoulder mechanics, you’re not just lifting smarter, you’re investing in longevity.
Bonus: Want a full 4-week shoulder plan with band-only workouts? Drop a comment and I’ll send you the template!
Disclaimer:
It should be remembered that the information available at gymgoodies.net is constantly evolving and is up-to-date and authentic information on fitness, exercises, and health.
I am a veteran bodybuilder, considering I have been active in the industry for quite some time. I ensure that the content shared reflects the lessons I have learned in my years of training and working or all the exposure I have had.
That said, it must be understood that the information available on this portal is obtained through communication channels and is primarily for education and information. Some factors and changes occur, and the issues discussed in this website address such things.
Every piece of advice regarding fitness or health should be taken with caution.
You might need the assistance of fitness professionals, nutritionists, or doctors regarding your workout routine, diet, or fitness activity. Their advice should be personalized PPC, the guide you integrate into your routine, taking into account your specifications and requirements regarding your health and fitness.
This is key, considering our concern is your health and safety. Make sure you only use the data on the site to empower expert advice and nothing more.


