How to Train at Home Without Looking Like a Gym Took Over Your House
Quick Answer
Train at home without turning your living space into a gym by choosing multi-use, vertically stored equipment, creating a convertible training zone that appears and disappears in under two minutes, and maintaining a strict teardown routine. Prioritise resistance bands, adjustable dumbbells, a suspension trainer, and a rollable mat. Keep sessions short and controlled, store everything out of sight after training, and design the system so the room returns to pure living use immediately. When the gym is invisible most of the day, both adherence and household harmony improve.
Why Visual Takeover Kills Home Training
The most common reason home gyms fail is not lack of results—it is spatial and aesthetic conflict. When equipment permanently occupies living areas, the room feels smaller, less relaxing, and no longer like a home. Family members or roommates begin to resent the setup, and the trainee feels guilty or crowded. The solution is not to abandon training; it is to design a system in which the gym exists only during the session and vanishes afterward.
Core Principles of an Invisible Home Gym
- Temporary occupation only – The training zone must deploy and disappear quickly.
- Vertical and under-furniture storage – Walls, doors, under-bed, and closet space hold more than floors.
- Multi-use equipment – Every item must earn its footprint by serving multiple movement patterns.
- Strict teardown habit – Putting the gym away is part of the workout, not an optional afterthought.
- Quiet, controlled technique – Reduces both noise complaints and the need for bulky flooring.
- Aesthetic integration – Storage solutions should look intentional rather than like gym overflow.
Equipment That Supports an Invisible Setup
| Equipment | Visual Impact | Storage Method | Patterns Covered | Notes |
|---|---|---|---|---|
| Resistance bands + door anchor | Very low | Drawer, bag, over-door hooks | Squat, hinge, push, pull, core | Highest space-to-value ratio |
| Adjustable dumbbells | Low–moderate | Under-bed or vertical stand | Squat, hinge, push, pull, carry | One pair replaces a full rack |
| Suspension trainer | Very low | Small bag + door anchor | Pull, core, assisted movements | Excellent for rows and face pulls |
| Thick rollable mat | Low | Closet or corner | All floor work | Defines the zone, then disappears |
| Optional kettlebell | Low | Under-bed or closet | Hinge, squat, carry, conditioning | Single bell is usually enough |
| Foldable bench | Moderate | Under-bed or vertical | Supported presses, hip thrusts | Only if storage is fully solved |
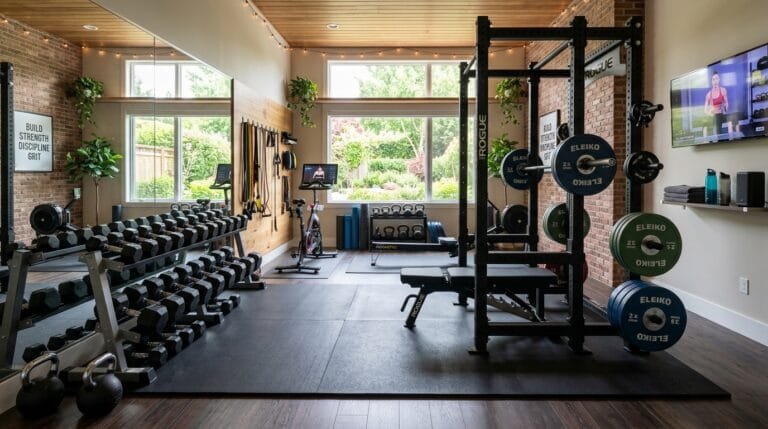
Avoid large racks, permanent platforms, walls of weights, and anything that cannot be stored out of sight.
Creating a Convertible Training Zone
Step 1: Measure the temporary footprint
Identify the smallest area that still allows full range of motion for your main lifts. A 6×6 ft or 8×8 ft zone is sufficient for most people.
Step 2: Choose storage before equipment
Map under-bed clearance, closet space, over-door potential, and wall areas that can accept hooks or a slim rack. Only buy what fits these locations.
Step 3: Design a one- or two-trip deployment
Everything required for a session should move from storage to the zone in a single trip (or two at most). A rolling cart or large basket makes this automatic.
Step 4: Establish a non-negotiable teardown
The session is not finished until the room is restored. Practise the put-away process until it takes under two minutes.
Step 5: Protect the floor without permanent coverage
Use a thick rollable mat or interlocking tiles that are lifted and stored after training. This satisfies both protection and aesthetics.
Quiet, Space-Efficient Exercise Selection
Squat / Lunge
Goblet squat, reverse lunge, Bulgarian split squat (rear foot on a sturdy chair or bed), single-leg sit-to-stand.
Hinge
Romanian deadlift, single-leg Romanian deadlift, band good-morning, glute bridge variations.
Push
Push-up variations, floor press, band chest press.
Pull
Single-arm band or dumbbell row, suspension inverted row, band face pulls and pull-aparts.
Core / Carry
Plank variations, dead bugs, suitcase carry with a dumbbell or backpack.
Shoulder-friendly technique keeps sessions controlled and joint-friendly (Bent Arms vs. Straight Arms in Lateral Raises, The Hidden Mistake in Lateral Raises, and 3 Lateral Raise Modifications). Grip strength can be trained with towel holds or short band work that stores easily (Do Hand Grippers Really Work?).
Step-by-Step System for an Invisible Home Gym
- Discuss the plan with anyone who shares the space so expectations are clear.
- Measure storage locations and the temporary training footprint.
- Select only multi-use equipment that fits the measured storage.
- Assign every item a fixed home (hook, container, shelf, or cart).
- Write a standard 25–35 minute workout and a 15-minute minimum version.
- Practise setup and teardown until both are fast and automatic.
- Install soft flooring that also stores compactly.
- Begin training with controlled tempos and moderate loads.
- Track sessions so progressive overload remains visible.
- Reassess every 4–6 weeks and remove anything not being used.
Sample Invisible-Gym Workouts
Standard 30-Minute Session
- Goblet or bodyweight squat – 3 × 8–12 (slow eccentric)
- Single-leg Romanian deadlift – 3 × 8–12 per leg
- Push-up variation – 3 × 8–15
- Single-arm row or suspension row – 3 × 8–12 per arm
- Optional plank or short carry – 2 sets
Minimum Viable 15-Minute Session
- Squat or lunge – 2 sets
- Hinge – 2 sets
- Push – 2 sets
- Pull – 2 sets
Density Option
Set a timer for 20–25 minutes. Rotate through the four patterns with controlled repetitions. Rest only as needed. Track total quality rounds.
Progressive Overload Without Expanding the Footprint
- Slow the eccentric phase
- Add pauses at the hardest point
- Increase range of motion under control
- Move to unilateral variations
- Improve density while keeping equipment minimal
- Add band resistance where helpful
These methods allow years of progress without requiring additional gear or permanent space claims.
Storage Solutions That Preserve Living Aesthetics
- Over-door hooks and organisers for bands and straps
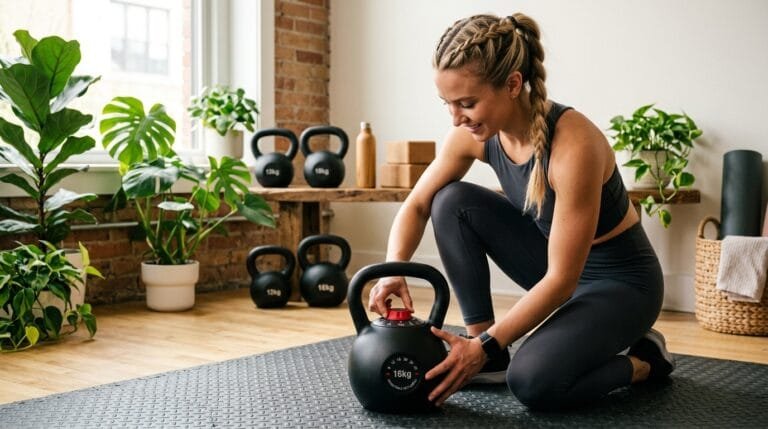
- Under-bed containers for dumbbells, kettlebells, and mats
- A single rolling cart or basket that holds the entire kit
- Slim vertical stands that fit in closets
- Wall-mounted options only where they look intentional and are approved by the household
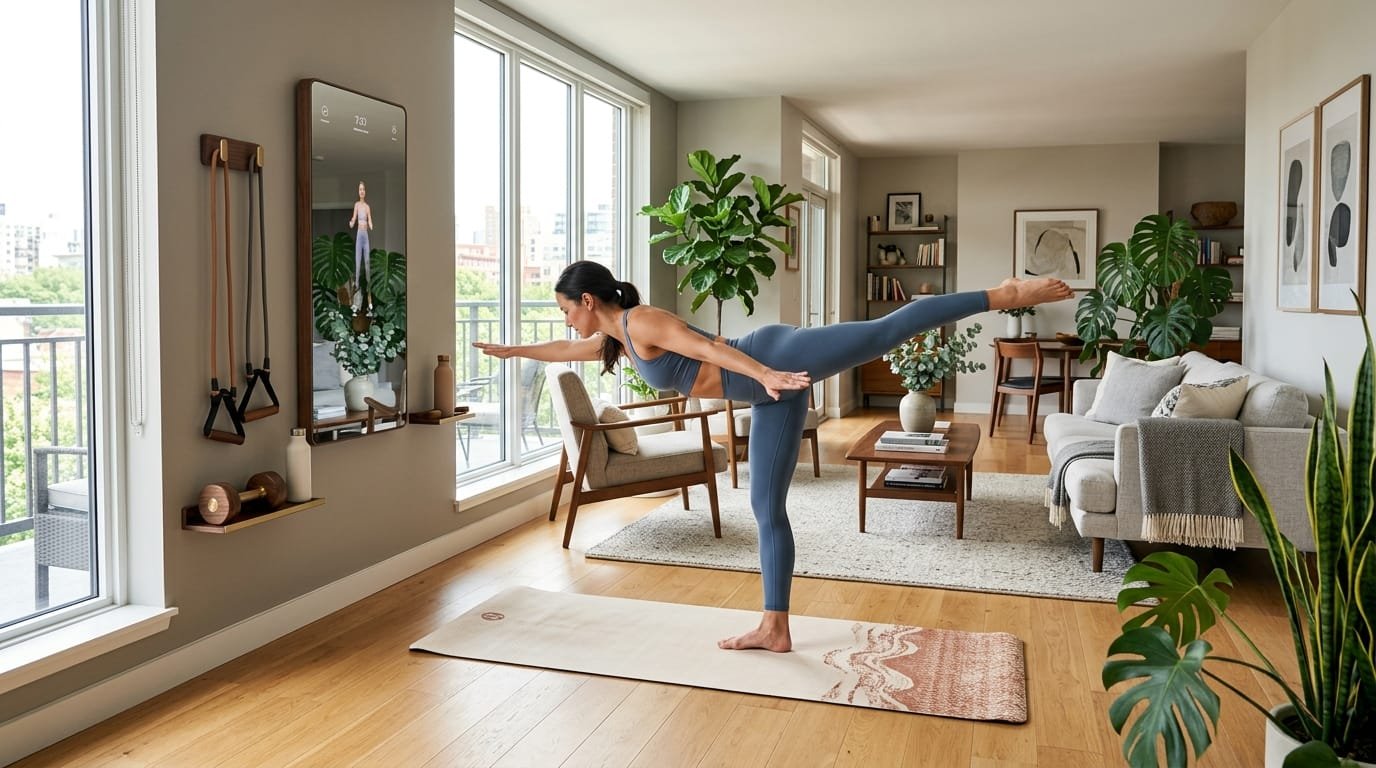
The test of a good system is simple: a visitor should not be able to tell a gym exists in the home when training is not in progress.
Common Mistakes That Create Visual Takeover
| Mistake | Result | Better Approach |
|---|---|---|
| Buying equipment before planning storage | Permanent clutter | Measure and assign storage first |
| No fixed home for each item | Items left out permanently | Everything has one assigned place |
| Slow or complicated teardown | Gym stays visible | Practise sub-two-minute put-away |
| Too many single-purpose tools | Space conflict | Multi-use equipment only |
| Ignoring household aesthetics | Family friction | Choose solutions that look intentional |
| No periodic purge | Gradual accumulation | Remove unused items every 4–6 weeks |
Strength training with compact, well-stored equipment remains highly effective for building and maintaining muscle and strength (strength training guidance). Practical home-gym approaches emphasise systems that respect real living spaces (home gym equipment prioritisation and budget home gym principles).
Frequently Asked Questions
Can I make real progress with an invisible setup?
Yes. Progressive overload through tempo, pauses, unilateral work, and density is fully available with bands, adjustable dumbbells, and bodyweight.
What is the single most important habit?
The teardown routine. If the gym disappears consistently, the rest of the system remains sustainable.
How much space do I actually need?
A temporary 6×6 ft zone is enough for most effective full-body sessions.
Is a power rack compatible with this approach?
Rarely. Folding or wall-mounted racks exist, but most people achieve better long-term adherence with fully storable tools.
How do I handle neighbours or family who are noise-sensitive?
Controlled eccentric tempos, thick removable mats, and considerate scheduling solve most issues.
What if I live in a studio apartment?
The same principles apply and are even more important. Vertical storage and rapid teardown are essential.
Can I keep a mat down permanently?
Only if the household agrees and the lease allows. Many people prefer a rollable mat that disappears after each session.
How often should I reassess the setup?
Every 4–6 weeks. Remove anything not being used and confirm the arrangement is still acceptable to everyone who shares the space.
Final Recommendation
Training at home without looking like a gym took over the house is achieved by treating storage and teardown as core parts of the programme. Choose multi-use equipment that stores vertically or under furniture, create a convertible zone that deploys and disappears in under two minutes, and maintain a non-negotiable put-away habit. Keep sessions short, controlled, and efficient. When the living space returns to normal immediately after training, both consistency and household harmony improve.
Measure your storage options today, select only the equipment that fits them, write a standard and a minimum viable workout, and practise the setup/teardown cycle until it is automatic. The most effective home gym is the one that remains invisible most of the time—start building that system now.