How to Brace Correctly So Squats and Deadlifts Feel Safer
Quick Answer
Correct bracing for squats and deadlifts means creating high intra-abdominal pressure by taking a deep breath into the belly, tightening the entire midsection (front, sides, and back) as if preparing for a punch, and holding that pressure through the hardest part of the lift. This stabilises the spine, reduces shear forces, and makes heavy squats and deadlifts feel noticeably safer and stronger. Practice the brace in isolation first, then apply it to every working set. A strong, consistent brace is one of the highest-leverage skills for long-term lifting safety and performance.
Why Bracing Matters More Than Most Lifters Realise
The spine is strongest when it is neutral and rigidly supported. During squats and deadlifts the torso must resist flexion, extension, and lateral bending while force is transmitted from the legs and hips through the trunk to the bar. Without adequate intra-abdominal pressure and muscular tension, the spine relies more on passive structures (discs, ligaments, facet joints). Over time this increases injury risk and limits the loads you can handle with confidence.
A proper brace turns the midsection into a rigid cylinder. This protects the spine, improves force transfer, and often allows immediate increases in working weight while making the lift feel more secure. For anyone who has ever felt their lower back “take over” or shift during a heavy set, learning to brace is usually the missing piece.
The Physiology of a Strong Brace
Intra-abdominal pressure (IAP) is created by the coordinated action of:
- Diaphragm (top of the cylinder)
- Pelvic floor (bottom)
- Transverse abdominis, internal and external obliques, and rectus abdominis (front and sides)
- Multifidus and erector spinae (back)
When these muscles contract while the breath is held or pressurised, the abdomen becomes a pressurised container that supports the spine from the inside. Research and practical coaching experience consistently show that higher IAP reduces spinal loading and improves trunk stiffness during heavy lifts.
Step-by-Step Bracing Sequence
1. Set your stance and grip the bar
Establish your foot position for the squat or your starting position for the deadlift. Take the bar with your preferred grip.
2. Create the initial position
For squats: unrack and step back while staying tall.
For deadlifts: hinge to the bar, set the back in neutral, and get the chest up.
3. Breathe into the belly
Take a deep breath downward and outward—think of filling a balloon in the lower abdomen, not lifting the chest. The sides and lower back should expand as well.
4. Tighten 360 degrees
Simultaneously contract the abdominal wall, the obliques, and the lower back muscles. Imagine bracing for a punch to the stomach while also trying to push the belt outward in every direction (if you wear one). The goal is a rigid, pressurised midsection.
5. Hold the pressure
Maintain the brace through the eccentric and the concentric portions of the lift, especially through the sticking point. You can use a short Valsalva (breath hold) on maximal efforts or a controlled breathing pattern on submaximal work, but the tension must stay high.
6. Reset between reps if needed
On higher-rep sets, briefly release and re-brace at the top of squats or between deadlift reps to maintain quality.
Bracing Differences Between Squats and Deadlifts
| Aspect | Squat | Deadlift |
|---|---|---|
| When to brace | Before unracking or before the descent | Before initiating the pull from the floor |
| Body position | More upright torso (depending on style) | Hinged torso |
| Common error | Losing brace at the bottom | Losing brace as the bar leaves the floor |
| Cue emphasis | “Big belly and tight everywhere before you bend the knees” | “Brace hard, then push the floor away” |
| Belt use | Often helpful for heavier sets | Often helpful for heavier sets |
The underlying skill—high IAP and 360-degree tension—is the same.
Common Bracing Mistakes and Corrections
| Mistake | Why It Reduces Safety | Correction |
|---|---|---|
| Breathing only into the chest | Creates little abdominal pressure | Focus on belly and side expansion |
| Sucking the stomach in | Reduces IAP instead of increasing it | Push outward against the belt or hands |
| Bracing only the front abs | Leaves the sides and back under-supported | Think 360-degree tension |
| Waiting until the bar is heavy | Technique breaks under fatigue | Practice the brace on every warm-up set |
| Losing the brace at the bottom of the squat | Spine becomes vulnerable in the hardest position | Rehearse holding the brace in the hole with light loads |
| Over-arching or rounding to “feel tight” | Moves the spine away from neutral | Maintain neutral while pressurising |
Drills to Build a Better Brace
1. Dead-bug variations with emphasis on pressure
Lie on your back, create the brace, then move the limbs without letting the lower back arch or the pressure drop.
2. Bird-dog with pause
From all fours, brace, then extend opposite arm and leg while keeping the torso rock-solid.
3. Suitcase carries and farmer carries
Walk while maintaining a hard brace; the offset or heavy load teaches anti-lateral-flexion stability.
4. Plank variations with breathing
High planks or side planks while practising controlled breaths without losing tension.
5. Empty-bar or light-load rehearsals
Perform the full squat or deadlift sequence with an empty bar, focusing solely on the quality and consistency of the brace.
These drills can be done several times per week and rapidly improve the automaticity of the skill.
Belt Use and Bracing
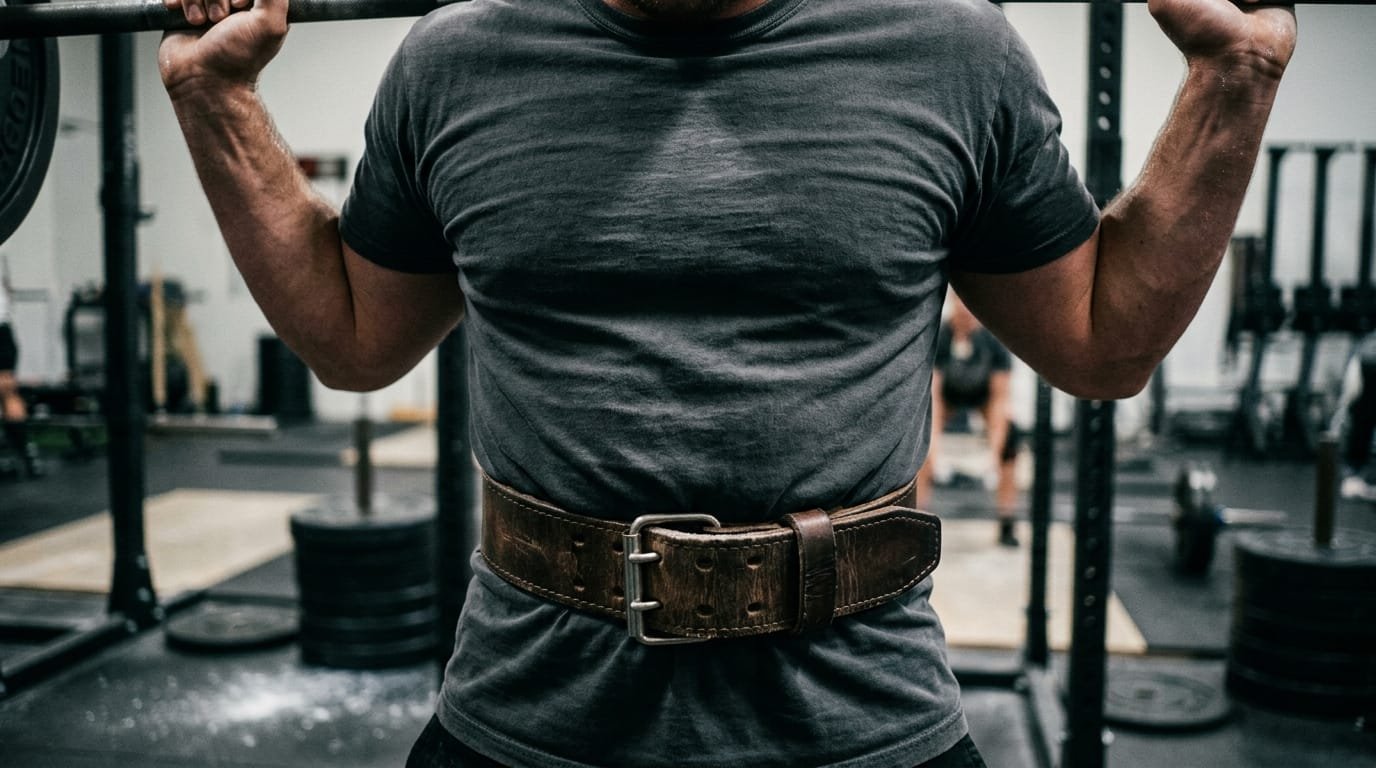
A lifting belt does not replace the brace—it amplifies it. The belt gives the abdominal wall something to push against, allowing higher IAP. Best practice:
- Learn to brace well without a belt first.
- Use the belt for heavier working sets once the pattern is solid.
- Push outward into the belt in all directions, not just the front.
- Keep the belt position consistent (usually covering the lower abs and upper hips).
Integrating Bracing with Overall Technique
A strong brace works best when the rest of the lift is also well organised:
- Neutral spine position set before the brace is finalised
- Balanced foot pressure
- Controlled eccentric
- Consistent bar path
Upper-back tightness and scapular position also contribute to overall torso rigidity. Controlled shoulder work that emphasises stability can support this (Bent Arms vs. Straight Arms in Lateral Raises, The Hidden Mistake in Lateral Raises, and 3 Lateral Raise Modifications). Grip strength influences confidence on the deadlift and can be trained directly (Do Hand Grippers Really Work?).
Programming and Practice Recommendations
- Treat bracing as a skill: rehearse it on every set, including warm-ups.
- Film side and rear views periodically to check for lumbar movement or loss of tension.
- Progress load only when the brace feels automatic and solid.
- On high-rep or fatigue sets, shorten the set or re-brace rather than allowing technique to degrade.
- Include dedicated core stability work 2–3 times per week.
Strength training performed with good trunk stability remains one of the most effective ways to build resilience and performance (strength training guidance). Practical home-gym approaches emphasise mastering foundational skills such as bracing before chasing maximal loads (home gym equipment prioritisation and budget home gym principles).
Step-by-Step Plan to Make Bracing Automatic
- Spend 5–10 minutes practising the isolated brace daily for one week.
- Add the brace to bodyweight squats and hip hinges.
- Apply it to empty-bar squats and deadlifts, filming sets.
- Use it on all warm-up sets of your working sessions.
- Gradually increase load while maintaining the same bracing quality.
- Introduce a belt once bodyweight and light-bar bracing is reliable.
- Revisit drills whenever the brace feels inconsistent.
- Monitor how the lower back feels during and after sessions; a proper brace should reduce, not increase, residual fatigue in the spine.
- Teach the same sequence to any training partners—the cues become clearer when explained aloud.
- Make the braced setup the non-negotiable first step of every heavy squat and deadlift.
Frequently Asked Questions
Should I hold my breath for the entire lift?
On maximal or near-maximal singles, a brief Valsalva (breath hold) is common and effective. On submaximal or higher-rep sets, many lifters use a braced breathing pattern—maintaining tension while allowing small breaths. The key is never to lose the intra-abdominal pressure.
How tight should the brace feel?
Very tight—near maximal voluntary contraction of the midsection muscles, combined with high pressure from the breath. It should feel like a solid cylinder.
Can bracing help if I already have lower-back sensitivity?
Yes for most people. A better brace often reduces the sensation of the lower back “taking” the load. However, individual medical advice should always come first, and technique must remain strict.
Is a belt necessary?
No, but it is a useful tool for heavier work once you can already brace well without one.
How long does it take to develop a strong brace?
Noticeable improvement often occurs within 1–2 weeks of deliberate practice. Full automaticity under heavy loads may take several weeks to a few months.
What if I feel dizzy when bracing hard?
Ease the intensity of the breath hold and ensure you are not over-holding between reps. Most lifters adapt quickly.
Should the lower back feel muscular work during the brace?
Yes—the erectors should be active as part of the 360-degree tension. Sharp pain, however, is a signal to stop and reassess.
Can I practise bracing outside the gym?
Yes. Short daily sessions of dead bugs, bird dogs, and standing braces accelerate learning.
Final Recommendation
Correct bracing is one of the highest-return skills a lifter can develop. By creating strong intra-abdominal pressure and 360-degree muscular tension before every squat and deadlift, you stabilise the spine, improve force transfer, and make heavy sets feel markedly safer and more powerful.
Learn the sequence deliberately: breathe into the belly, tighten all the way around, and hold the pressure through the lift. Practise it on warm-up sets until it becomes automatic, then apply it consistently to working sets. Support the skill with basic core stability drills and solid overall technique.
A reliable brace turns squats and deadlifts from exercises that feel risky into movements you can load with confidence. Start practising the sequence today—even with bodyweight—and make it the non-negotiable foundation of every heavy lower-body session. The difference in both safety and performance is usually immediate and continues to grow as the skill becomes second nature.