Weighted Vest vs. Ankle Weights: Which Delivers Better Results?
Quick Answer
A weighted vest generally delivers better overall results for strength, calorie burn, bone density, and full-body conditioning because it loads the torso near the body’s center of gravity, preserving natural movement patterns. Ankle weights are useful for targeted lower-body isolation, rehabilitation, and floor-based exercises but are riskier for walking, running, or high-impact cardio due to altered gait, increased joint stress, and potential muscle imbalances. For most home trainees seeking maximal return on effort, a properly fitted weighted vest is the superior primary tool; ankle weights serve best as a secondary, controlled-isolation option.
Why Load Placement Changes Everything
Adding external weight increases the demand on muscles, bones, and the cardiovascular system. Where that weight sits determines safety, muscle recruitment, and transfer to real-world movement.
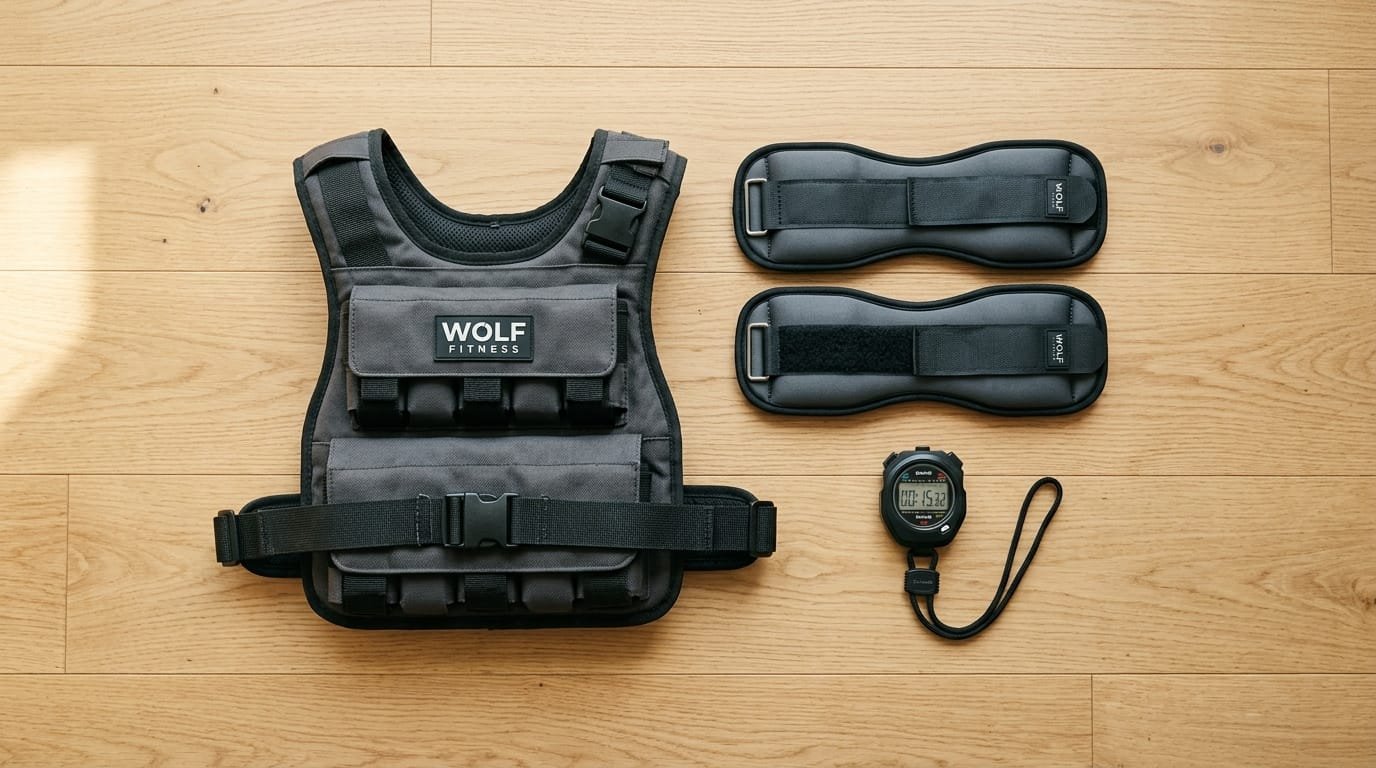
- Weighted vest: Load sits on the torso, close to the center of mass. Gait and joint mechanics remain largely natural. The entire kinetic chain works harder.
- Ankle weights: Load sits at the end of a long lever (the leg). This amplifies stress on the ankles, knees, and hips, alters stride mechanics, and can over-emphasise the quadriceps while under-recruiting the posterior chain during locomotion.
These biomechanical differences explain why experts consistently favour vests for walking, hiking, bodyweight strength circuits, and general conditioning, while restricting ankle weights to controlled, non-locomotor exercises.
Head-to-Head Comparison
| Factor | Weighted Vest | Ankle Weights | Winner for Most Goals |
|---|---|---|---|
| Load distribution | Even across torso, near center of gravity | Concentrated at ankles (long lever) | Vest |
| Joint stress during walking/running | Low to moderate | High (ankles, knees, hips) | Vest |
| Muscle recruitment | Full-body (legs, core, back, posture muscles) | Primarily lower-body isolation | Vest |
| Calorie burn potential | Higher for the same activity | Moderate (but higher injury risk) | Vest |
| Bone-density stimulus | Strong (axial loading) | Limited | Vest |
| Gait disruption | Minimal | Significant | Vest |
| Best use cases | Walking, hiking, squats, lunges, push-ups, pull-ups, circuits | Floor work, leg lifts, rehab, activation | Context-dependent |
| Portability & cost | Moderate cost, wearable | Very low cost, highly portable | Ankle weights |
| Progressive overload | Easy (add/remove weight plates or bags) | Limited (usually fixed small increments) | Vest |
Evidence and Practical Outcomes
Walking or training with a weighted vest (typically 5–15% of body weight) increases heart rate, oxygen consumption, and calorie expenditure without requiring faster speeds. Studies show measurable increases in energy cost and improvements in balance and bone density with consistent vest use.
Ankle weights can raise heart rate and oxygen use modestly during walking, but they change muscle activation patterns—often increasing quadriceps demand while reducing hamstring contribution—and elevate stress on distal joints. Multiple sources advise against ankle weights for prolonged walking or running precisely because of these gait and joint concerns (weighted vest vs ankle weights for walking and related clinical observations).
For strength and toning, a vest turns bodyweight movements into progressive loaded exercises across the whole body. Ankle weights excel at isolated hip and leg work performed on the floor or in controlled ranges.
Detailed Strengths and Limitations
Weighted Vest – Advantages
- Preserves natural movement patterns.
- Loads the axial skeleton, supporting bone density.
- Increases intensity of walking, hiking, stair climbing, squats, lunges, push-ups, and pull-ups.
- Engages core and postural muscles continuously.
- Easy to progress by adding small weight increments.
- Hands remain free.
Weighted Vest – Limitations
- Higher upfront cost.
- Can feel bulky or hot.
- Improper fit or excessive load may stress the spine or shoulders.
- Not ideal for maximal-speed sprinting or very high-impact plyometrics for beginners.
Ankle Weights – Advantages
- Inexpensive and highly portable.
- Excellent for targeted glute, hip-flexor, abductor, and hamstring isolation.
- Useful in rehabilitation and physical-therapy settings under guidance.
- Easy to add light resistance to floor exercises and activation drills.
Ankle Weights – Limitations
- Alter gait and increase joint loading when used for walking or running.
- Risk of muscle imbalance (quad-dominant patterns).
- Limited total load and progression ceiling.
- Poor choice for full-body or locomotor conditioning.
Goal-Specific Recommendations
| Goal | Preferred Tool | Why | Secondary Option |
|---|---|---|---|
| Walking / hiking calorie burn & conditioning | Weighted vest | Safer load distribution, higher systemic demand | Light vest only |
| Full-body strength circuits | Weighted vest | Turns bodyweight moves into progressive strength work | — |
| Bone density | Weighted vest | Axial loading | — |
| Lower-body isolation / rehab | Ankle weights | Targeted resistance in controlled ranges | Light bands |
| Travel / minimal equipment | Ankle weights or light vest | Portability | Resistance bands |
| Joint-sensitive trainees | Light weighted vest or none | Lower distal joint stress | Bands |
| Beginners | Light vest (5–10% body weight) | Manageable systemic load | Very light ankle weights for floor work only |
Safe and Effective Usage Guidelines
Weighted Vest
- Start with 5–10% of body weight.
- Ensure snug, even fit so the load does not shift.
- Progress gradually (1–2 kg increments).
- Use for walking, hiking, bodyweight strength, and moderate circuits.
- Avoid maximal sprinting or high-impact work until fully adapted.
- Listen to spine and shoulder feedback; reduce load if discomfort arises.
Ankle Weights
- Restrict use to controlled, non-locomotor exercises (side-lying leg lifts, donkey kicks, seated or standing isolation in limited range).
- Keep loads light (typically 0.5–3 kg per ankle).
- Avoid walking, jogging, or running with them.
- Prioritise perfect form and stop if joint pain appears.
- Consider them a supplement, not a primary conditioning tool.
Step-by-Step Implementation Plan
- Define your primary goal (conditioning, strength, isolation, or bone health).
- Choose the vest as the default tool for most goals; add ankle weights only for specific isolation needs.
- Begin with conservative loads and short sessions.
- Master movement quality before adding significant weight.
- Track sessions, loads, and how joints feel.
- Progress load or volume only when current levels feel solid.
- Combine vest work with free-weight or band strength training for balanced development.
- Use ankle weights sparingly and only in controlled ranges.
- Prioritise recovery—added load increases systemic stress.
- Reassess every 4–6 weeks and adjust tools or loads accordingly.
Integration with Complete Home Training
A weighted vest pairs exceptionally well with bodyweight and free-weight movements. Use it to progress push-ups, squats, lunges, and pull-ups while maintaining the shoulder-health practices outlined in safe lateral-raise technique and the shoulder health routine.
Kettlebell swings, carries, and squats can be performed with a light vest for added demand (kettlebell sizing guide. Grip and forearm work remains important for overall upper-body balance (grip strength guidance.
Resistance bands offer joint-friendly alternatives or complements for lateral stability and activation (Resistance Bands Buying Guide. Core strength supports good posture under vest load (ab roller progressions.
Treadmill or cardio sessions can be intensified safely with a vest rather than ankle weights (manual treadmill guidance and broader cardio comparisons). Recovery tools and sleep become even more important when systemic load increases (Best Post-Workout Recovery Tools, Best Massage Gun for Post-Workout Recovery on a Budget, and Sleep and Recovery Strategies. Tracking ensures progressive yet safe overload (Best Ways to Track Progress Without a Gym or Personal Trainer.
External comparisons consistently favour weighted vests for walking, full-body conditioning, and safety, while limiting ankle weights to controlled isolation work (weighted vest vs ankle weights analysis and related practical reviews).
Common Mistakes
- Walking or running with ankle weights
- Starting with excessive vest load
- Using a poorly fitting vest that shifts or digs in
- Neglecting posterior-chain and core strength while adding external load
- Expecting ankle weights to deliver full-body results
- Ignoring joint feedback
Frequently Asked Questions
Is a weighted vest better than ankle weights for fat loss?
Yes for most people. The vest increases systemic demand during large-muscle activities (walking, circuits) more safely and effectively.
Can I run with a weighted vest?
Light vests are used by some experienced trainees, but beginners and most recreational runners should stick to walking or hiking. Prioritise form and gradual progression.
Are ankle weights ever worth using?
Yes—for targeted floor exercises, activation, and rehabilitation under professional guidance. Avoid them for locomotion.
How heavy should my weighted vest be?
Start at 5–10% of body weight. Progress slowly. Many trainees never need more than 10–15%.
Will a weighted vest build muscle?
It increases the difficulty of bodyweight movements and can contribute to strength and hypertrophy when progressive and paired with sufficient volume and recovery. It is not a complete replacement for progressive resistance training.
Do weighted vests help bone density?
Yes. Axial loading from a vest during weight-bearing exercise supports bone health, particularly when combined with impact or resistance training.
Can I use both tools?
Yes. Vest for primary conditioning and strength circuits; ankle weights for specific isolation or rehab drills.
Final Recommendation
For the majority of home trainees, a weighted vest delivers better overall results than ankle weights. It increases calorie burn, strength demand, and bone-loading stimulus while preserving safer movement mechanics. Ankle weights have a narrower, useful role in controlled isolation and rehabilitation but carry higher joint risk when used for walking or running.
Choose a well-fitted weighted vest as your primary external-load tool, start conservatively, and progress gradually. Reserve ankle weights for specific floor-based or rehab exercises. Combine either tool with balanced strength training, solid recovery, and consistent tracking. This approach maximises results while minimising unnecessary joint stress—start with the vest, move well, and build from there.